
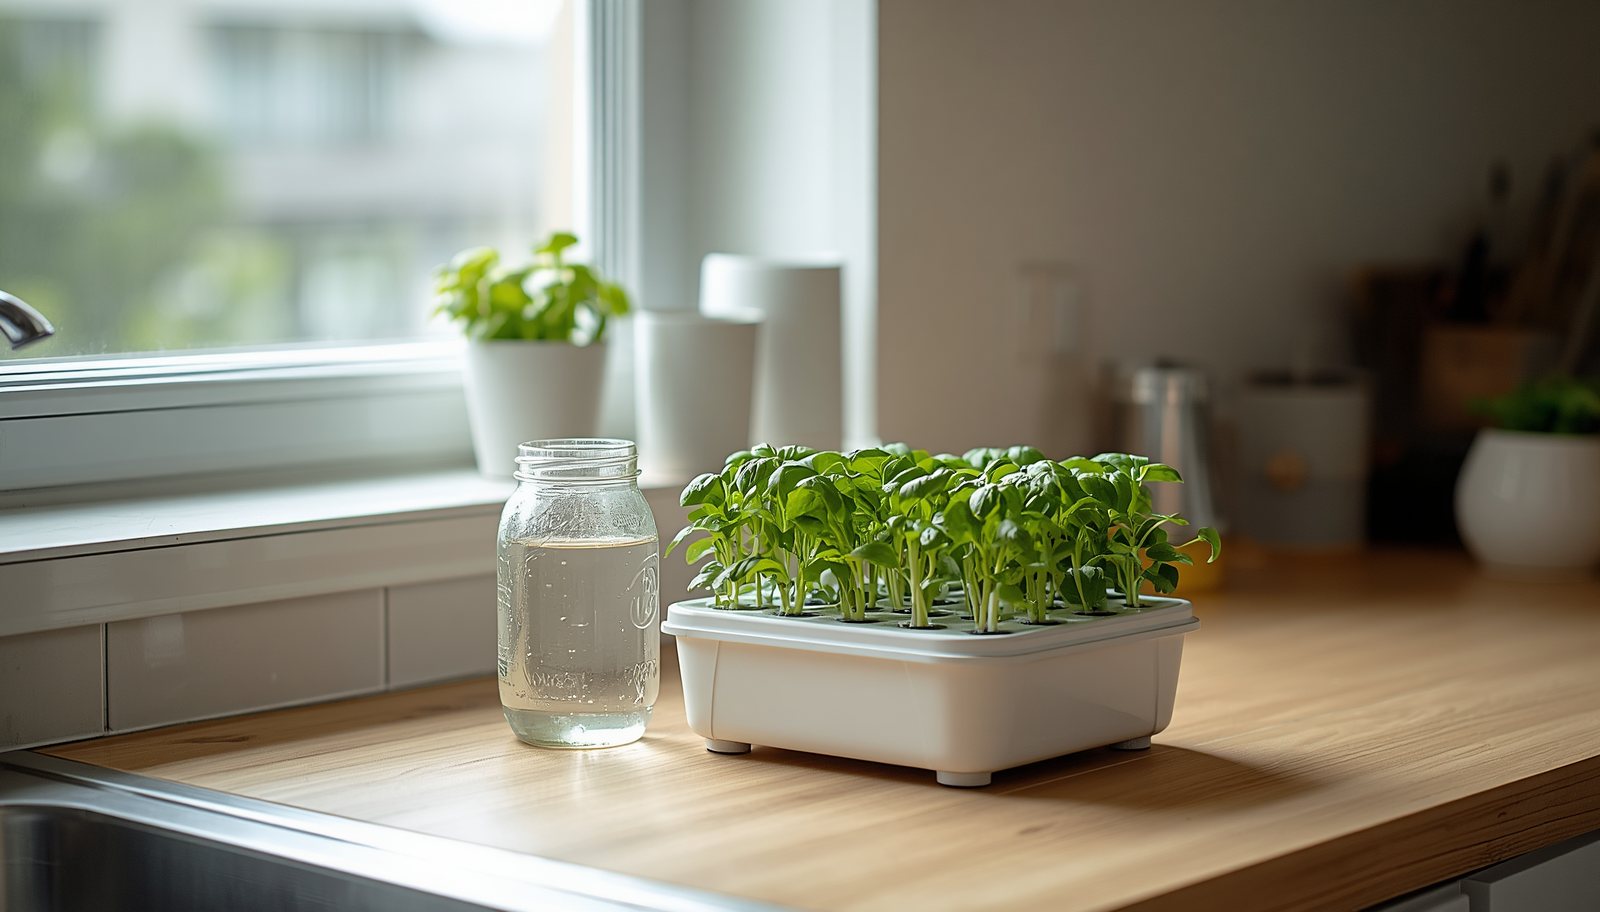
You don’t need a backyard, a greenhouse, or even a windowsill that gets decent light. Small hydroponic systems let you grow real food — lettuce, basil, strawberries, even peppers — in a space the size of a microwave. And honestly, most people overcomplicate the start. They buy too much gear, skip the boring stuff like pH testing, and quit after one yellowed leaf convinces them they’ve “killed it.”
That’s not how this has to go. At Grow With Hydroponics, we’ve watched beginners go from a single mason-jar lettuce experiment to a fully stocked kitchen herb wall in a few months—once they understood the basics. This guide covers what small hydroponic systems actually are, which type fits your space, what gear you genuinely need, and how to avoid the mistakes that sink most first attempts.
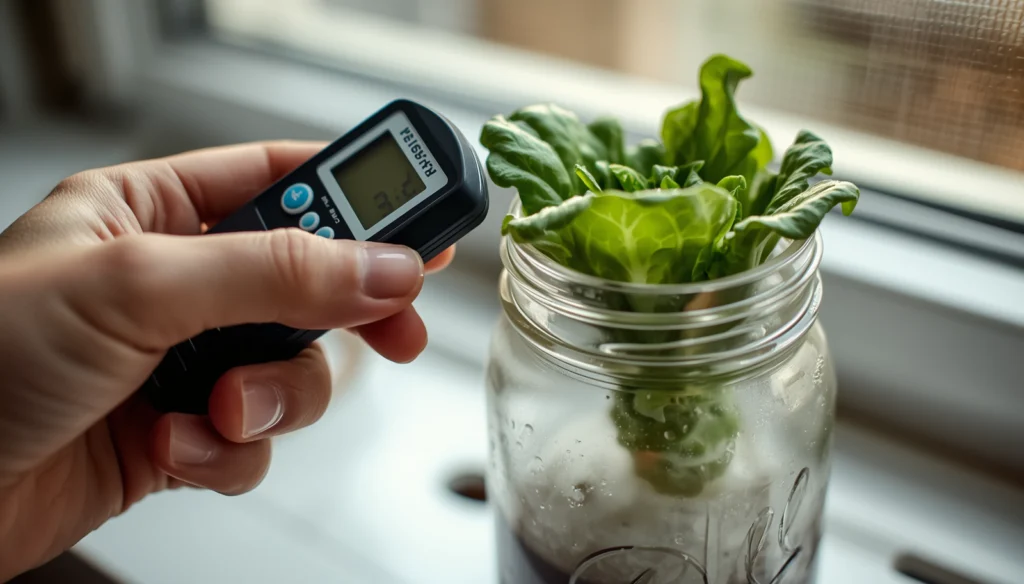
Quick Answer: Small hydroponic systems are compact, soil-free growing setups — like Kratky jars, mason-jar DWC buckets, or countertop towers — built for limited spaces such as apartments, kitchens, and balconies. They use far less water than soil gardening, grow leafy greens and herbs noticeably faster, and require just three core inputs to work: a nutrient solution, a way to track pH and EC, and consistent light. Most beginners can get a working setup running for under $50.
What Counts as a “Small” Hydroponic System?
A small hydroponic system is any soil-free setup compact enough to fit on a counter, shelf, or balcony—typically growing one to six plants at a time. There’s no strict size cutoff, but if it fits on a kitchen counter without rearranging your life, it qualifies.
These setups strip gardening down to its essentials. Roots sit in or get periodically washed by a nutrient-rich water solution instead of digging through soil for food. The growing medium you see — clay pebbles, rockwool cubes, coco coir plugs—isn’t feeding the plant at all. It’s just holding the stem upright. The water is doing the real work.
So why does this matter for someone in a one-bedroom apartment? Because it means you can skip the soil mess entirely, control exactly what your plant eats, and fit a working garden into spaces traditional gardening would laugh at—a windowsill, a closet with a cheap LED, a corner of the kitchen counter.
Why Go Small Instead of Building a Bigger System?
Smaller hydroponic setups win on cost, space, and forgiveness — they’re cheaper to build, easier to monitor daily, and far less punishing when something goes wrong. A failed pump in a 40-gallon system can wipe out a season’s worth of plants. A failed pump in a 2-liter mason jar costs you one lettuce.
There’s also a learning curve argument here that gets ignored a lot. Big systems hide their mistakes longer — a slow nutrient imbalance might not show symptoms for a week in a large reservoir, but in a small jar, you’ll spot it in a day or two because there’s so little buffer. That’s actually useful. You learn faster.
A few other practical wins worth mentioning:
- Water use drops sharply compared to soil — closed-loop systems recirculate the same solution instead of letting most of it run off or evaporate.
- Growth speed picks up noticeably for leafy greens, since roots aren’t burning energy searching through dirt for nutrients.
- Pest pressure drops too. No soil means no fungus gnats breeding in damp dirt, no soil-borne fungal issues creeping in.
- You can run it indoors year-round. A balcony tomato in December isn’t realistic outside, but under a small LED panel, it’s just Tuesday.
What Are the Main Types of Small Hydroponic Systems?
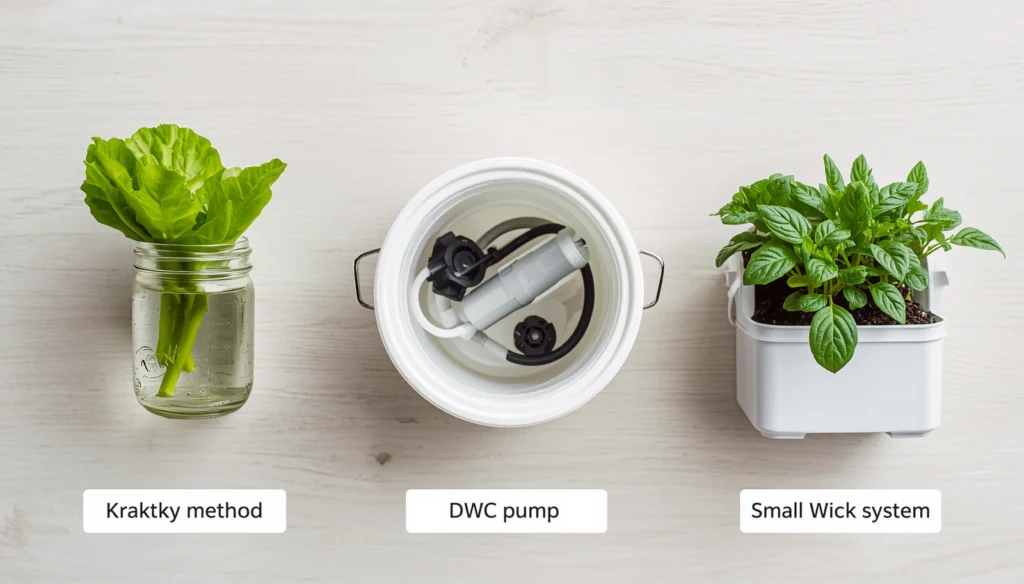
The five common small-system types are Kratky, Deep Water Culture (DWC), wick systems, Nutrient Film Technique (NFT), and small Ebb and flow setups—each trading off simplicity against plant size and maintenance demand.
Picking between them isn’t about which is “best.” It’s about matching the system to what you’re actually trying to grow and how much daily attention you’re willing to give it.
Kratky Method
The Kratky method is a passive, zero-electricity system where a plant starts with its roots submerged in nutrient solution, and as the water level naturally drops, an air gap forms that feeds the roots oxygen. No pump, no power, no moving parts. It’s about as close to “fill it and walk away” as hydroponics gets.
It’s brilliant for herbs and lettuce. I’d skip it for anything that needs to keep growing past one harvest cycle—tomatoes will outgrow the reservoir and stall out.
Deep Water Culture (DWC)
In DWC, roots hang directly into an aerated nutrient bath, with an air pump and air stone keeping oxygen levels up so roots don’t suffocate. This is the classic mason-jar-with-an-air-pump setup you’ve probably seen on Instagram, and for good reason—it’s simple, cheap, and forgiving once it’s dialed in.
The catch: that air pump is doing critical work. Lose power for a few hours on a hot day and roots can suffocate fast. Keep a $15 backup pump on hand. Cheap insurance.
Wick System
A wick system passively draws nutrient solution up to the roots through a capillary wick—no electricity, no pump, completely silent. It’s the quietest option in this list, which matters more than people expect if your “grow room” is also your bedroom.
The tradeoff is capacity. Wick systems can’t keep up with thirsty plants. Stick to herbs and small lettuce varieties.
Nutrient Film Technique (NFT) and Mini Ebb & Flow
Small NFT setups run a thin, constant film of nutrient solution over roots through a sloped channel, while compact Ebb & Flow systems periodically flood a tray and drain it back to a reservoir. Both need a pump and a timer, so there’s more to manage, but you get faster growth and the ability to run several plants off one reservoir.
These suit someone who’s already done a Kratky jar or two and wants to level up.
Small Hydroponic System Comparison Table
| System | Electricity Needed | Best For | Difficulty | Typical Cost |
|---|---|---|---|---|
| Kratky | None | Herbs, lettuce, single-cycle greens | Beginner | $10–25 |
| Wick System | None | Herbs, small leafy greens | Beginner | $15–30 |
| DWC | Air pump | Lettuce, herbs, small peppers | Beginner-Intermediate | $25–60 |
| NFT (mini) | Pump + timer | Leafy greens, fast-growing crops | Intermediate | $40–100 |
| Mini Ebb & Flow | Pump + timer | Mixed plants and herbs to small fruiting crops | Intermediate | $50–120 |
Ready to pick your system?
Not sure which kit fits your space? Browse a few beginner-friendly small hydroponic setups below — most ship with everything you need for your first grow.


What Gear Do You Actually Need to Get Started?
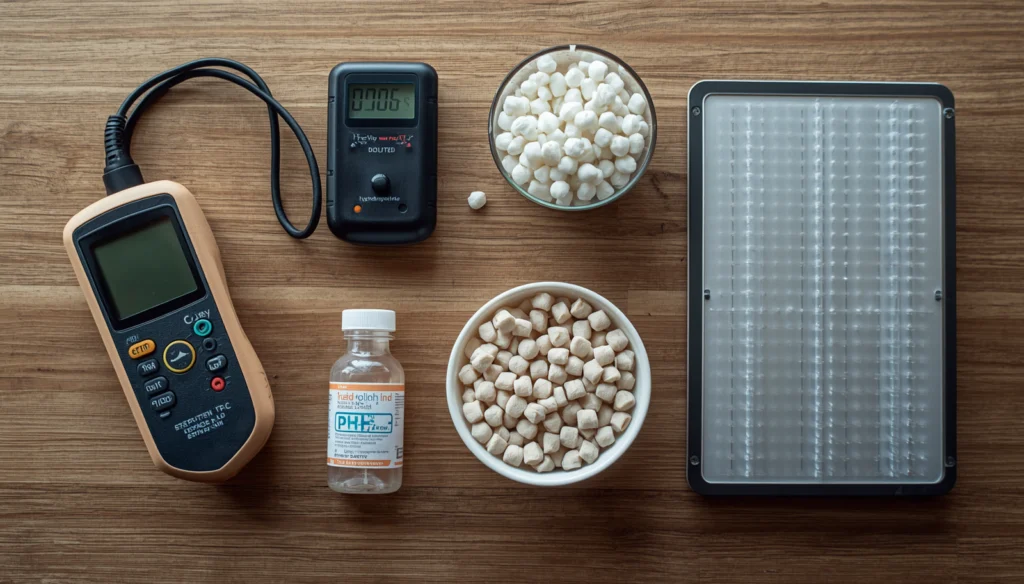
You need five things for any small hydroponic system: a container or framework, a growing medium, nutrient solution, light (if growing indoors), and a way to test pH and EC. Skip any one of these and you’re guessing, not growing.
Here’s the breakdown without the upsell:
- The container or framework—a mason jar, net pot, bucket, or small tray setup. This is your structure.
- Growing medium—clay pebbles (hydroton) or rockwool. They anchor the plant; they don’t feed it.
- Nutrient solution — don’t mix your own from raw salts as a beginner. A pre-balanced hydroponic nutrient solution removes most of the guesswork.
- Light — full-spectrum LED if you’re not near a strong south-facing window. The cheap “blurple” panels from a few years back are mostly obsolete now; modern full-spectrum units run cooler and cover better.
- pH and EC meters — this is the part people skip, and it’s the part that actually matters most. Wrong pH locks out nutrients no matter how good your mix is.
Before buying anything, it’s worth running your space through the Grow Space Planner—it helps you figure out what actually fits before gear shows up at your door and nothing lines up the way you pictured it.
Get a Meter You Can Trust
A cheap pH meter will quietly sabotage your whole setup. These are reliable, beginner-friendly options that won’t drift on you mid-grow.
How Do You Set Up a Small Hydroponic System Step by Step?
Setting up a small hydroponic system takes five steps: pick a system that matches your goal, choose forgiving starter plants, mix and pH-balance your nutrient solution, set your light and temperature schedule, and then monitor daily for the first two weeks.
- Match the system to the plant. Lettuce or herbs, once? Kratky. Continuous harvests? DWC or mini NFT.
- Start with forgiving plants. Lettuce, basil, spinach, and mint are resilient and give you a quick win. Save peppers and tomatoes for round two.
- Mix and balance your nutrients. Follow the bottle’s seedling-stage dosing, then get pH into the 5.5–6.5 range. A few drops of pH Up or pH Down handle small corrections.
- Set your light and climate. Indoors, aim for 14–16 hours of light, room temperature around 65–75°F, and a small fan running — it strengthens stems and keeps mold away.
- Check daily for the first two weeks. Reservoir level, pH reading, leaf color. This is where you actually learn the system, not from a manual.
What Mistakes Do Beginners Make with Small Systems?
The most common mistakes are ignoring pH drift, overdosing nutrients early, skipping backup power for pumps, and crowding too many plants into one small reservoir. Every one of these is avoidable with a five-minute daily check.
Worth calling out specifically:
- Treating pH as a one-time setup step. It drifts. Biological activity and nutrient uptake both push it around—check it every other day, not once a month.
- Going heavy on nutrients “to speed things up.” More isn’t better. Overdosing burns roots and stresses the plant exactly when it’s most vulnerable.
- No backup for the air pump. I’ve seen a single overnight power blip suffocate a whole DWC bucket of roots. A spare pump costs less than a takeout dinner.
- Overcrowding one reservoir. Three lettuce plants in a jar built for one means everyone competes for nutrients and nobody thrives.
If leaves start yellowing or curling and you’re not sure why, run it through the Hydroponic Plant Health Diagnosis Tool before you start randomly dosing nutrients—guessing usually makes it worse, not better.
Buying Tips: What’s Worth Spending On
Not all gear is equal, and a tight budget doesn’t mean a weak setup. Spend on the pH and EC meters first—they’re the dashboard for everything else, and a cheap, inaccurate one will quietly sabotage you for weeks before you notice. Spend less on the container; a repurposed mason jar works as well as a branded kit for your first run.
Ready to gear up properly? Shop Smart for starter kits, meters, and nutrients that won’t leave you guessing on your first build.
FAQ: Small Hydroponic Systems
Do small hydroponic systems need electricity?
Not always. Kratky and wick systems run with zero electricity, while DWC, NFT, and Ebb & Flow setups need a pump and sometimes a timer. If you want a completely passive setup, Kratky is the simplest starting point.
How much space do I actually need?
A single small hydroponic system can fit in as little as one square foot — a mason jar on a windowsill is enough for one herb plant. Scaling up to several plants usually just means more containers side by side, not a bigger footprint per plant.
Can small hydroponic systems grow more than lettuce and herbs?
Yes, but with limits. DWC and mini Ebb & Flow systems can handle small peppers or compact tomato varieties, though yields stay modest in small reservoirs. Leafy greens and herbs remain the most reliable choice for tight spaces.
How often do I need to check the system?
Daily checks for the first two weeks are worth it while you’re learning; then most small systems only need a five-minute glance every day or two—reservoir level, pH, and leaf color. Kratky systems need the least attention since there’s no pump to fail.
Is a small hydroponic system cheaper than soil gardening long-term?
It can be, mainly through water savings and faster, more reliable harvests, though the upfront gear cost is usually higher than buying a bag of soil. Most beginners recoup that cost within a few grow cycles once you’re not replacing dead plants or buying produce you’d otherwise grow yourself.
Start Small, Learn Fast
Small hydroponic systems aren’t a scaled-down compromise—they’re often the smartest place to actually start. You learn the fundamentals fast, mistakes stay cheap, and a kitchen counter or balcony corner is genuinely enough space to grow something real. Start with one system, one forgiving plant, and get a single harvest under your belt before scaling up.
For more hands-on guidance as you go, Hydroponic Systems: A Complete Guide for Home Growers has deeper breakdowns on system types, nutrients, and troubleshooting whenever you’re ready to dig further in.