

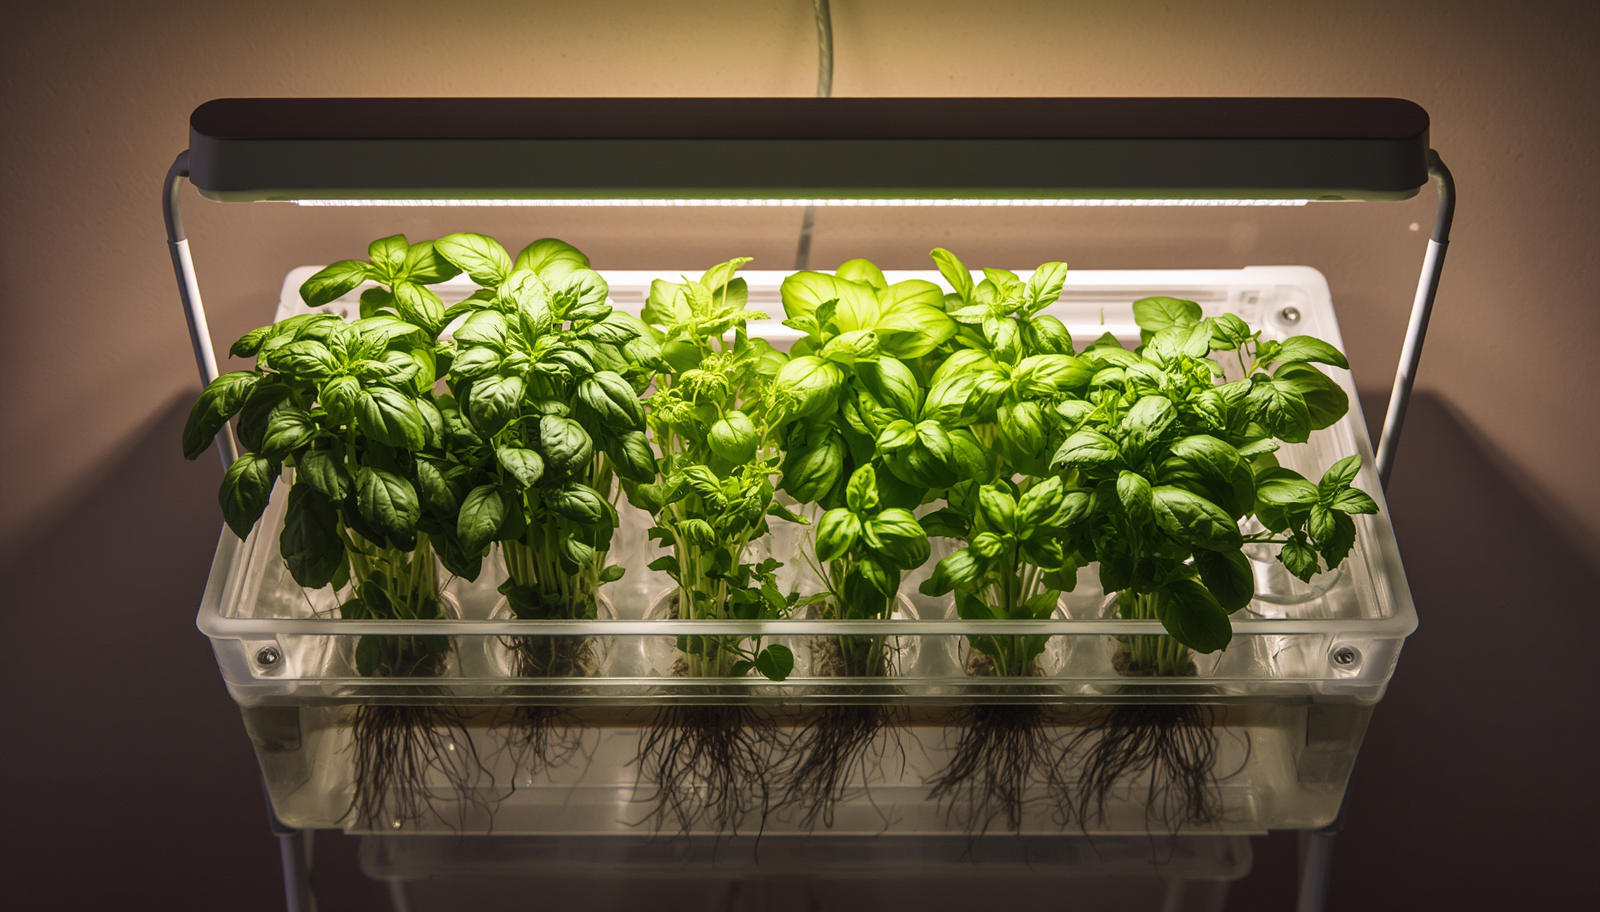
Most beginners don’t fail because they ignore their plants. They fail because they trust the wrong signal — a wattage number on a box, a star rating built on affiliate reviews, or a light that looks impressive but barely grazes the canopy with usable photons.
Here at Grow With Hydroponics, we get more questions about budget lighting than almost any other topic. And honestly, the confusion is understandable. The market is flooded. Specs are buried in jargon. And half the “best of” lists out there are ranked by commission rate, not plant performance.
Quick Answer — At a Glance
Affordable LED grow lights can genuinely boost plant growth when chosen correctly. The key is matching light intensity (PPFD), spectrum, and coverage area to your specific crop — not chasing the lowest price or highest wattage number. A budget LED with a PPE of 2.5 µmol/J or higher, a documented PPFD map, and a full-spectrum output will outperform a flashy overpriced fixture with weak real-world numbers. For most home growers running herbs, leafy greens, or seedlings, a quality budget panel in the $40–$120 range is all you need.
So this is the guide that cuts through that. We’ll cover what actually matters in affordable LED grow lights, how to read specs that are worth reading, which crops work well under budget fixtures, and how to avoid the traps that waste your money before a single seedling stretches toward the canopy.
What Makes an Affordable LED Grow Light Actually Worth Buying?
An affordable LED grow light is worth buying when it delivers adequate PPFD (photosynthetic photon flux density) across your growing area at an efficiency level that keeps electricity costs low — without failing within a year.
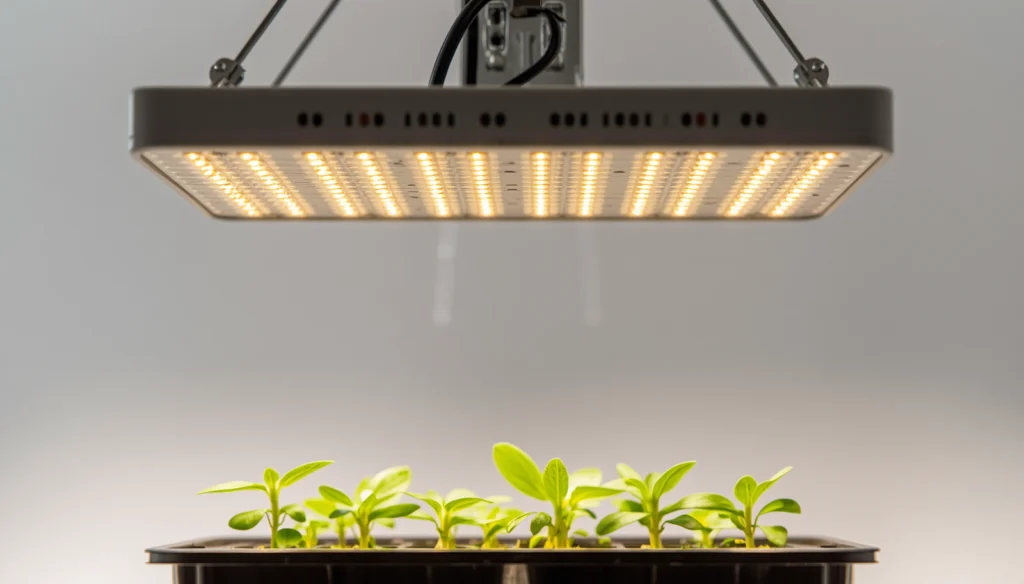
That’s it. Three variables. Most budget lights fail on at least one of them.
The Spec That Actually Matters: PPE (µmol/J)
PPE, or photosynthetic photon efficacy, measures how many plant-usable photons a fixture produces per joule of electricity consumed. It’s your real return on investment — not wattage, not lumen rating, not how many LEDs are visible through the lens.
- Budget fixtures typically land in the 2.3–2.5 µmol/J range
- Mid-range panels from brands like Mars Hydro and Spider Farmer push 2.7–2.9 µmol/J
- Anything under 2.5 µmol/J is considered outdated technology at 2026 prices
The gap matters practically. A 100W fixture at 2.3 µmol/J delivers meaningfully fewer usable photons than the same wattage at 2.7 µmol/J — and that difference shows up directly in your electricity bill and in how your plants grow.
What to Look for on a Budget
Before purchasing any affordable LED grow light, check for these non-negotiable items:
- A published PPFD map (not just a center-point measurement)
- PPE rating of 2.5 µmol/J or higher
- Full-spectrum output — white-based diodes, not blurple red/blue combos
- Dimming capability — critical for seedling management
- UL or ETL certification — CE is a self-declaration; independent testing matters
If a brand won’t publish a PPFD map, that’s your answer about what the light actually does.
Budget LED Picks That Hit the Right Specs
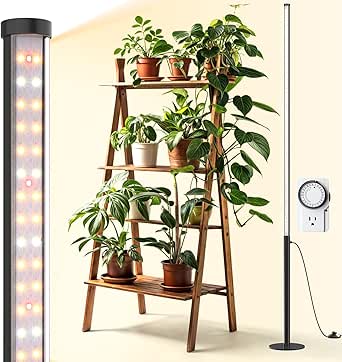
Not all affordable grow lights are equal. These fixtures are selected for documented PPFD output, full-spectrum performance, and real-world reliability — not marketing claims.



Do Affordable LED Grow Lights Really Boost Plant Growth?
Yes — but only when the fixture matches the crop. Affordable LED grow lights can absolutely boost plant growth for herbs, leafy greens, seedlings, and small fruiting plants when the PPFD output matches what that specific crop needs.
The common myth is that you need to spend hundreds of dollars to see results. That’s not true — but neither is the idea that any cheap light will do. I’ve seen basil thrive under a $30 bar light and tomatoes sulk under a $400 fixture that was mismatched to the space. The fixture isn’t the whole story. Match matters more than money.
PPFD Targets by Crop Type
| Crop | PPFD Target (µmol/m²/s) | Affordable LED Range |
|---|---|---|
| Seedlings & Clones | 100–250 | ✅ Well within budget range |
| Leafy Greens (lettuce, basil, spinach) | 200–400 | ✅ Achievable with quality budget panel |
| Herbs (mint, cilantro, parsley) | 250–450 | ✅ Mid-range budget fixtures work |
| Small Fruiting Crops (peppers, strawberries) | 400–600 | ⚠️ Needs a better-spec budget panel |
| High-light Fruiting (tomatoes, cannabis) | 600–900+ | ❌ Generally beyond true budget range |
The honest conclusion: if you’re growing leafy greens, herbs, microgreens, or starting seedlings, affordable LED grow lights are more than sufficient. If you’re chasing tomato yields in a 4×4 tent, budget fixtures will disappoint.
Why Full-Spectrum LEDs Beat Blurple Lights for Home Growers
Full-spectrum LED grow lights produce a broad, balanced range of wavelengths — resembling natural sunlight — instead of the narrow red/blue peaks that older “blurple” panels emit.
The blurple era is essentially over for good reason. Those targeted red/blue panels require light swaps as plants move from vegetative to bloom stages, they cast an uncomfortable purple glow in living spaces, and they’ve been consistently outperformed by modern white-light quantum board designs in side-by-side comparisons.
What Full Spectrum Delivers
- Blue light (400–500 nm) — compact vegetative growth, strong stems and roots
- Green light (500–600 nm) — penetrates canopy, supports lower leaf photosynthesis
- Red light (600–700 nm) — triggers flowering and fruiting
- Far-red (700–800 nm) — accelerates bloom via the Emerson effect
A single quality full-spectrum unit handles your entire grow cycle from seedling to harvest. That simplicity alone saves most home growers the cost of a second fixture. For a herb garden or beginner hydroponic setup, it’s the most practical choice you can make.
How Do Affordable LED Grow Lights Perform in Hydroponic Systems?
Affordable LED grow lights pair well with hydroponic systems — particularly because their low heat output helps maintain stable reservoir temperatures. This matters more than most beginners realize.
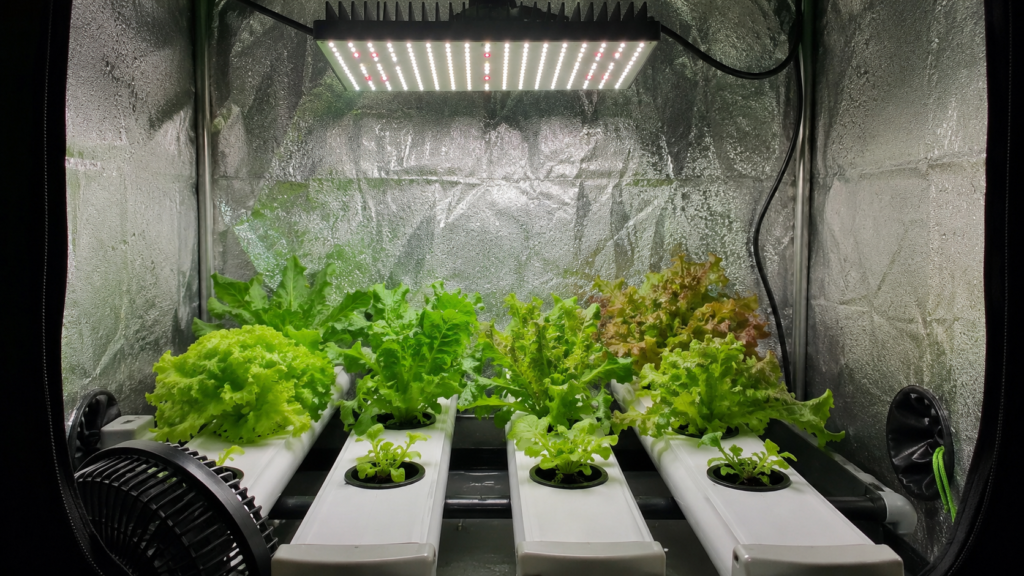
Traditional HPS lighting runs hot. That heat raises reservoir temps, which accelerates bacterial growth, reduces dissolved oxygen in the nutrient solution, and stresses roots. Budget LEDs run cooler, giving your reservoir one fewer problem to fight. Mount fixtures 12–18 inches above hydroponic growing channels and orient them perpendicular to channel flow for more even coverage across the canopy.
Hydroponic Lighting Integration Tips
- Monitor reservoir temps — even low-heat LEDs can raise solution temperature 2–3°F in small enclosed setups
- Use IP65-rated fixtures near open reservoirs or flood-and-drain tables — water resistance isn’t optional in wet environments
- Sync your light schedule with feeding — photosynthesis drives nutrient uptake; a consistent photoperiod makes your nutrient solution work harder
If you’re running a DWC or NFT system and wondering whether your budget fixture is delivering enough, the Daily Light Integral (DLI) concept is worth understanding — it tells you the total light dose your plants receive per day, not just the instantaneous intensity.
Shop Smart: Before buying any affordable LED grow light, use our DLI Calculator to calculate the exact daily light dose your crop needs. Match the fixture’s PPFD output to that number — then you’re buying the right light, not just a cheap one.
What Are the Most Common Mistakes With Budget LED Grow Lights?
Affordable doesn’t mean foolproof. These are the mistakes that turn a reasonable budget fixture into a disappointing one.
Mistake 1: Buying on Wattage Claims Alone
Wattage tells you power draw. It tells you nothing about what reaches your plants. A 1000W “equivalent” label on a $25 light is a marketing claim, not a performance specification. Always ask for PPE and PPFD data.
Mistake 2: Hanging the Light Too High or Too Low
Place it too far away and seedlings stretch into thin, fragile stems reaching for light that isn’t dense enough. Drop it too close without dimming and you risk bleaching or heat stress even with LEDs. Start at the manufacturer’s recommended height and adjust based on how your plants respond — compact growth with good color is the target.
Mistake 3: Skipping the Dark Cycle
Running lights 24/7 rarely improves growth. Most plants need uninterrupted dark periods for hormonal cycling and respiration. Leafy greens tolerate 18/6 well; fruiting plants generally benefit from 12/12 at bloom. A simple plug-in timer costs almost nothing and removes all the guesswork.
Mistake 4: Ignoring Coverage Area vs. Canopy Size
A 45W bar light marketed for a “2×4 footprint” is marketing their maximum coverage — not their optimal coverage. For productive growth, use roughly 30–40 true watts per square foot. A light that covers 8 square feet adequately on that budget will need to be a quality panel, not a $15 strip light.
Affordable LED Grow Lights by Grow Size: What to Look For
| Grow Space | True Wattage Needed | Target Average PPFD | Typical Budget Range |
|---|---|---|---|
| Small shelf / propagation tray | 20–45W | 150–300 µmol/m²/s | $20–$50 |
| 2×2 tent | 60–100W | 300–500 µmol/m²/s | $50–$100 |
| 3×3 tent | 150–200W | 400–600 µmol/m²/s | $90–$160 |
| 4×4 tent (fruiting crops) | 300–450W | 600–900 µmol/m²/s | $180–$300+ |
Find the Right Light for Your Space
Browse our curated lighting range by wattage, coverage, and crop type — so you’re not guessing at spec sheets.
For herbs, microgreens, and leafy greens on a shelf or in a small tent, the lower tiers genuinely work. For fruiting crops in a 4×4, “affordable” starts to mean something different — you’re looking at $180–$250 minimum for a fixture that can actually deliver adequate canopy PPFD across the full footprint.
Roses hydroponically grown under supplemental lighting are a good example of where this matters. If you want to know how far you can push a flowering crop under controlled lighting conditions, the complete guide to growing roses hydroponically covers lighting requirements in detail.
Advanced Tips for Getting More From a Budget LED Grow Light
You don’t need to spend more to get better results — but you do need to be smarter about setup.
Use Reflective Surfaces
White poly sheeting or Mylar on tent walls bounces stray photons back into the canopy. In a 2×2 tent with a modest budget panel, good reflective coverage can improve effective PPFD by 10–20% without touching the fixture. That’s free light.
Dim Down for Seedlings
Most affordable panels with dimming capability should run at 50–70% during propagation. Seedlings don’t need — and can’t use — maximum intensity. Running at full power during early stages wastes electricity and can stress young plants. Dial it back, raise it gradually as the canopy develops.
Layer Your Lights Strategically
For a tight budget and a longer shelf or rack, two smaller bar lights positioned to overlap in the middle often beat one undersized panel. Even PPFD distribution matters more than peak center intensity. Hotspots in the middle with dark edges produce inconsistent growth across the tray.
FAQ: Affordable LED Grow Lights
Q1: Can affordable LED grow lights actually replace expensive ones for herbs and greens?
Yes, absolutely. For low-to-medium light crops like lettuce, basil, mint, and spinach, a quality budget panel delivering 250–400 µmol/m²/s is genuinely all you need. The returns from a $300 fixture over a $80 one are negligible when your target PPFD is modest. Spend the savings on nutrients or a better timer.
Q2: What wattage do I need for a 2×2 grow tent?
Target 60–100 true watts (measured at the wall) for a 2×2 footprint. Avoid “equivalent” wattage marketing claims entirely. Check the fixture’s documented average PPFD across a 2×2 area — ideally 300–500 µmol/m²/s for vegetative crops, higher for bloom.
Q3: Do I need a special LED for hydroponics, or will any grow light work?
Any quality full-spectrum LED can work with hydroponics, but for humid or open-reservoir setups, look for an IP65 or higher moisture resistance rating. A standard fixture near a splash zone or misting system will fail early, regardless of price point.
Q4: How far should an affordable LED grow light be from plants?
Start at 18–24 inches for seedlings under a budget panel and adjust based on plant response. Compact, dark-green growth indicates good placement. Stretching means more light or closer distance is needed. Bleaching or tip curl means you’re too close or too bright for that growth stage.
Q5: Is full-spectrum better than red/blue (blurple) for home grows?
For home growers, yes — full-spectrum white LEDs are simpler to use, handle the full growth cycle without light swaps, and produce better results across a range of crops. Blurple lights are more fiddly and better suited to commercial setups where stage-specific spectrum management is tightly controlled.
The Bottom Line on Affordable LED Grow Lights
The price you pay for a grow light matters far less than whether it delivers the right photons to the right canopy at the right intensity. A $60 full-spectrum panel with a published PPFD map and a PPE above 2.5 µmol/J will outgrow a $200 fixture with misleading specs and a marketing-only wattage claim.
Match the light to the crop. Verify with data, not box art. Dim for seedlings, intensify for bloom, and keep your canopy at the right distance. Do those things and affordable LED grow lights will consistently reward you with healthy, productive plants — no premium budget required.
Grow With Hydroponics has the calculators, guides, and community knowledge to help you make every grow decision with confidence — starting with your lights.
Explore Our Lighting Range
Whether you’re upgrading a propagation shelf or outfitting your first tent, the right fixture makes the difference. Browse our full selection of grow lights and accessories matched to every budget and grow size.
