

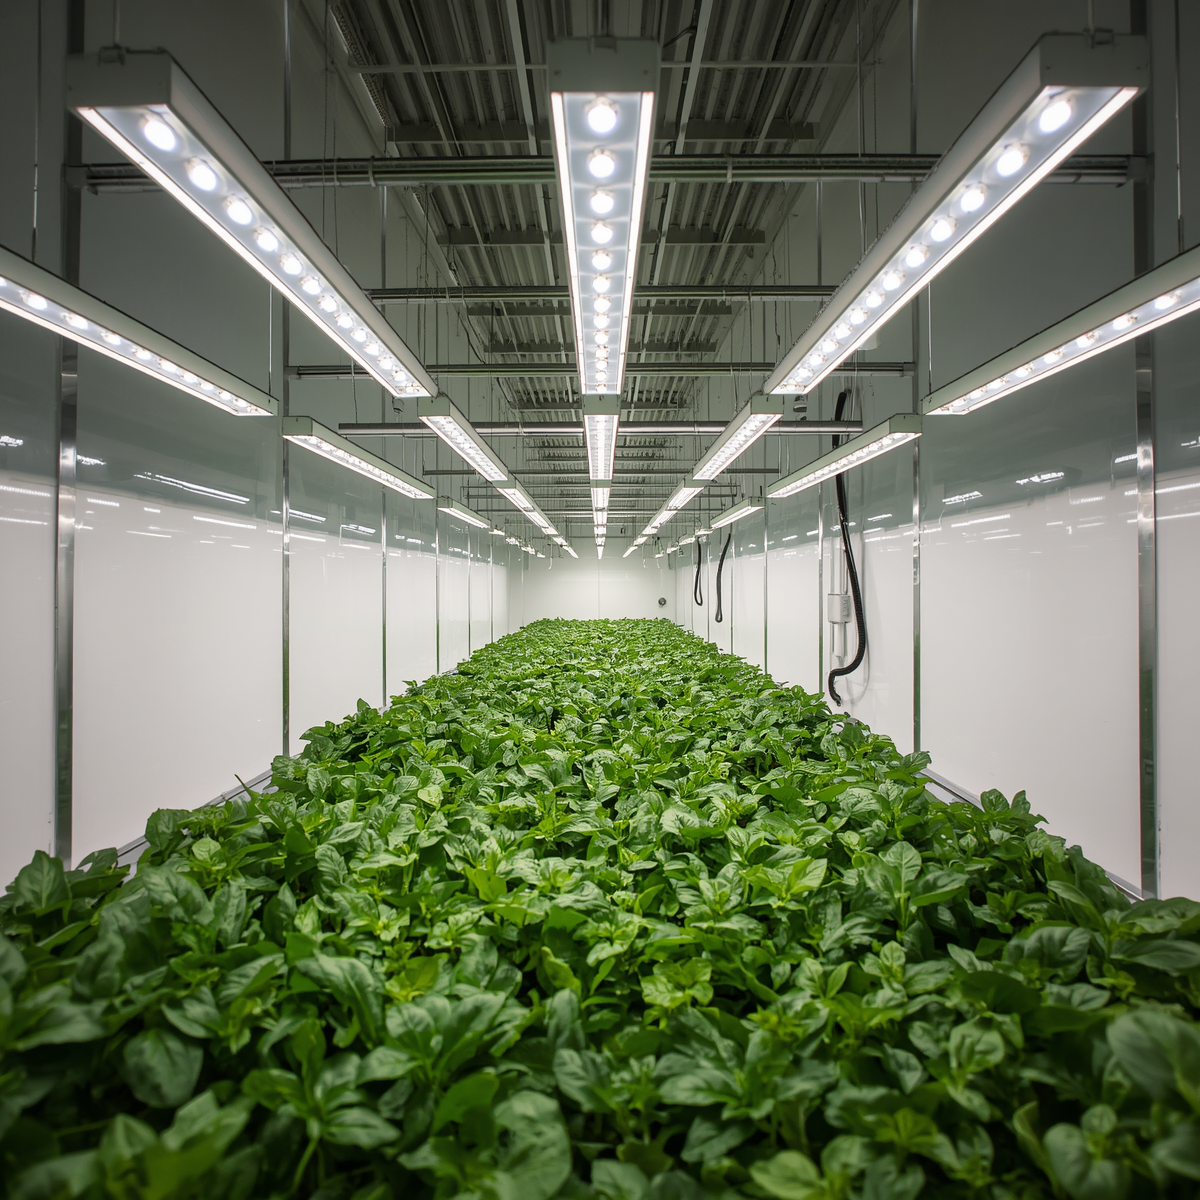
Most growers buy the wrong light for the same reason. They compare wattage numbers, find something that sounds powerful, and trust the manufacturer’s PPFD chart without questioning whether those measurements reflect real canopy conditions in their specific setup. The fixture arrives, gets hung at the recommended height, and the results feel… underwhelming. Growth is slower than expected. Some plants stretch. Others stall.
The light wasn’t the problem. The decision process was.
Here at Grow With Hydroponics, we’ve run lighting setups across every scenario — closet grows, 4×4 tents, commercial NFT racks, vertical towers, and heated greenhouse extensions. We’ve bleached canopies with too-close bars, starved seedlings with underpowered boards, and wasted electricity on fixtures that looked impressive but delivered mediocre PPFD at the edges where half the plants live.
This LED grow lights guide is what we wish we’d had on day one. By the end, you’ll understand what actually drives plant growth under artificial light, how to calculate the intensity your crop needs, how to match a fixture to your space, and how to buy without getting misled by specs designed to impress rather than inform.
What LED Grow Lights Actually Do—and Why the Old Metrics Are Misleading
Plants don’t measure light the way humans do. Your eyes respond to brightness. Plants respond to photons in a specific wavelength range—400 to 700 nanometers—known as Photosynthetically Active Radiation, or PAR. Lumens, lux, and watts tell you almost nothing about how useful a light is for plant growth.
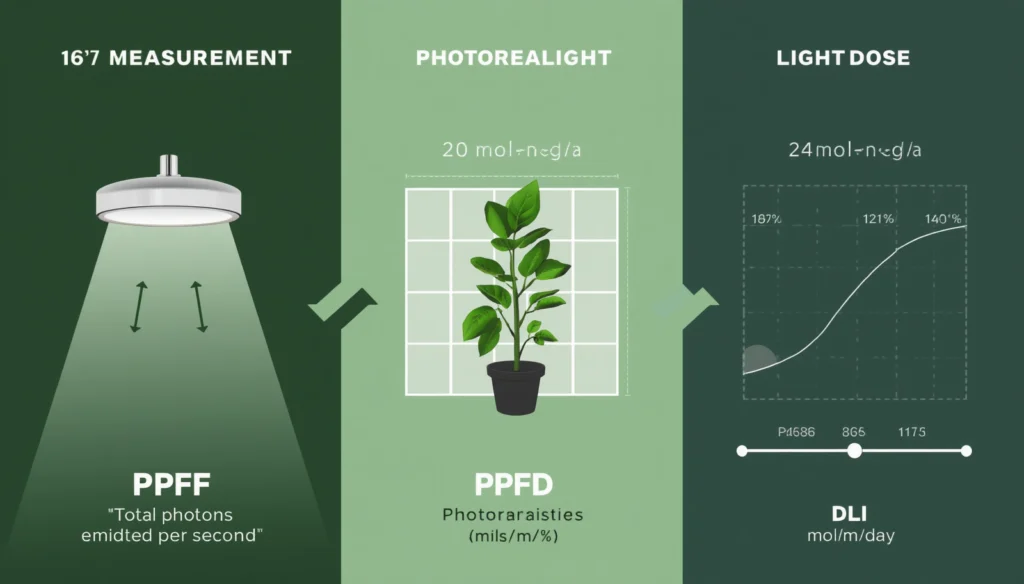
The metrics that matter are three:
PPF (Photosynthetic Photon Flux): The total number of PAR photons a fixture emits per second, measured in µmol/s. This tells you the output of the fixture itself, independent of distance or coverage area.
PPFD (Photosynthetic Photon Flux Density): The number of PAR photons hitting a specific point on your canopy per second, measured in µmol/m²/s. This is the most useful number for day-to-day growing decisions—hanging height, dimmer settings, plant spacing.
DLI (Daily Light Integral): The total dose of PAR photons delivered over a full day, measured in mol/m²/day. DLI is the most important metric for determining the overall growth rate of plants. Think of PPFD as how fast the rain is falling—DLI is the total rainfall during the storm. Once you know the preferred DLI of your plants, you can set up a lighting system to deliver the required amount of light reliably.
The relationship between them is straightforward:
DLI = PPFD × Photoperiod (hours) × 3,600 ÷ 1,000,000So 600 PPFD running for 16 hours equals a DLI of 34.6 mol/m²/day. That number tells you far more about whether your plants are getting enough light than any wattage figure ever will.
Why Wattage Is a Billing Number, Not a Growing Number
A “600W” LED fixture might actually draw 320W from the wall. A “2000W” Amazon light frequently draws 200W. Claimed wattage in consumer LED marketing often refers to the equivalent output of older HPS technology — not the fixture’s actual power draw.
The industry now leans on recognized definitions from ANSI/ASABE S640 for plant-light quantities and units. If your supplier can’t speak clearly in terms of PPF, PPFD, DLI, and efficacy (µmol/J), that’s a strong signal to keep shopping. Uniform PPFD distribution matters just as much as peak intensity — this is where many high-PPFD lights quietly fail.
Stop comparing watts. Start comparing efficacy — µmol/J — and third-party PPFD maps.
Use the DLI Calculator to convert your PPFD and photoperiod into a daily light dose—a pillar tool for confirming light delivery before buying or adjusting.
What “Full Spectrum” Really Means (And What It Doesn’t)
“Full spectrum” appears on nearly every modern LED grow light listing. It’s become as meaningless as “natural” on a food label — technically plausible, practically unregulated.
Here’s what it actually describes:
Blue wavelengths (400–500nm) signal open, exposed conditions to the plant. Blue light drives compact vegetative growth, tight internodal spacing, and thick stems. Too much blue without red and the plant runs slow.
Red wavelengths (600–700nm) drive flowering and fruiting responses. Red-heavy spectra trigger reproductive chemistry — the plant interprets extended red exposure as the light quality shift that signals late summer.
White-balanced output (all of the above, blended): Modern full-spectrum LEDs look white because they contain phosphor-coated diodes that emit across the full PAR range. This is genuinely useful — it lets you see your plants accurately, spot pest damage and nutrient deficiency without distortion, and grow a wide variety of crops without swapping fixtures.
Far-red (700–800nm): Accelerates flowering response and improves canopy penetration. A small amount of far-red in a fixture’s spectrum can reduce days to flower for many crops.
UV (below 400nm): Can increase secondary metabolite production—oils, resins, flavour compounds—in certain crops. Not needed for most growers. Needs careful dosing.
The practical conclusion: for mixed growing, general hydroponics, herbs, leafy greens, and most fruiting crops, a quality full-spectrum white LED is the right choice. It’s versatile, it’s accurate, and it works. You don’t need specialised spectrum channels unless you’re chasing the last 5% of performance on a specific crop.
DLI Targets by Crop — The Numbers That Should Drive Your Buying Decision
This is the table most LED buying guides don’t include. Crop DLI requirements are the single most important number to know before choosing a fixture.
According to Virginia Tech Extension research on hydroponic crop production, the optimum DLI for lettuce is approximately 17 mol/m²/day. Fruiting crops such as tomatoes require significantly higher DLI — in some cases nearly double or triple that of leafy greens — because producing fruit requires substantially more energy.
| Crop | Recommended DLI (mol/m²/day) | Min PPFD at 18hr | Min PPFD at 16hr |
|---|---|---|---|
| Microgreens | 6–12 | 93–185 | 104–208 |
| Lettuce / leafy greens | 14–17 | 216–262 | 243–295 |
| Basil / soft herbs | 12–16 | 185–247 | 208–278 |
| Spinach / kale | 12–17 | 185–262 | 208–295 |
| Strawberries | 15–20 | 231–309 | 260–347 |
| Tomatoes | 20–30 | 309–463 | 347–521 |
| Cucumbers | 20–25 | 309–386 | 347–434 |
| Roses (hydroponic) | 16–22 | 247–340 | 278–382 |
Research on hydroponic leafy green production confirms that growth is directly proportional to the amount of light received. When DLI is maintained at 17 mol/m²/day, lettuce heads are ready to harvest 24 days after transplanting. Lower DLI results in proportionally longer crop cycles.
Knowing your target DLI before you shop means you can calculate the exact PPFD your fixture needs to deliver at canopy level, at your intended hanging height, and across your photoperiod. That one calculation eliminates most bad buying decisions. Use the DLI Calculator to run your own numbers—enter your target DLI and photoperiod and it gives you the PPFD you need to hit.
LED Grow Lights Guide: How to Read PPFD Maps and Hanging Height Charts
A PPFD map shows the light intensity at multiple points across a defined area at a specific hanging height. It’s the single most useful piece of data a manufacturer can provide — and the first thing to look for when evaluating any fixture.
How to Read a PPFD Map Correctly
Most PPFD maps show a grid of measurements across a 2×2, 3×3, or 4×4 foot area. The centre reading is almost always the highest. The corners are almost always the lowest. The ratio between the lowest and highest reading tells you the uniformity of the fixture.
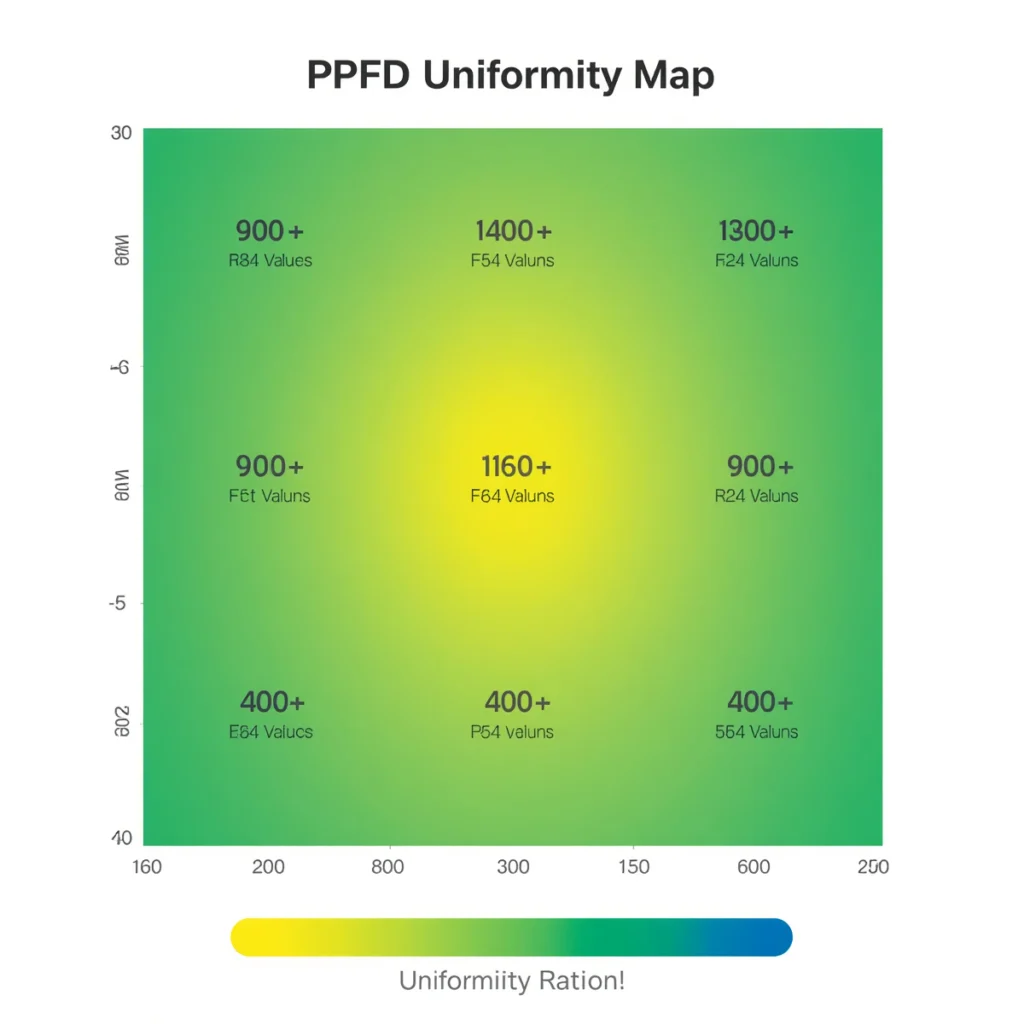
A well-designed multi-bar fixture spreads diodes across a larger area, lowering hot spots and smoothing the PPFD distribution across the canopy — which is crucial for even transpiration, consistent irrigation timing, and uniform crop development. Slightly higher mounting often improves uniformity at a given average PPFD by widening the spread.
A uniformity ratio (minimum ÷ average) above 0.7 is generally considered acceptable. Below 0.6, your corner plants are significantly underlit while centre plants may be overcrowded with photons. For hydroponic systems where every plant position matters equally — NFT channels, DWC boards — high uniformity is more important than peak PPFD.
Hanging Height by Growth Stage — With PPFD Context
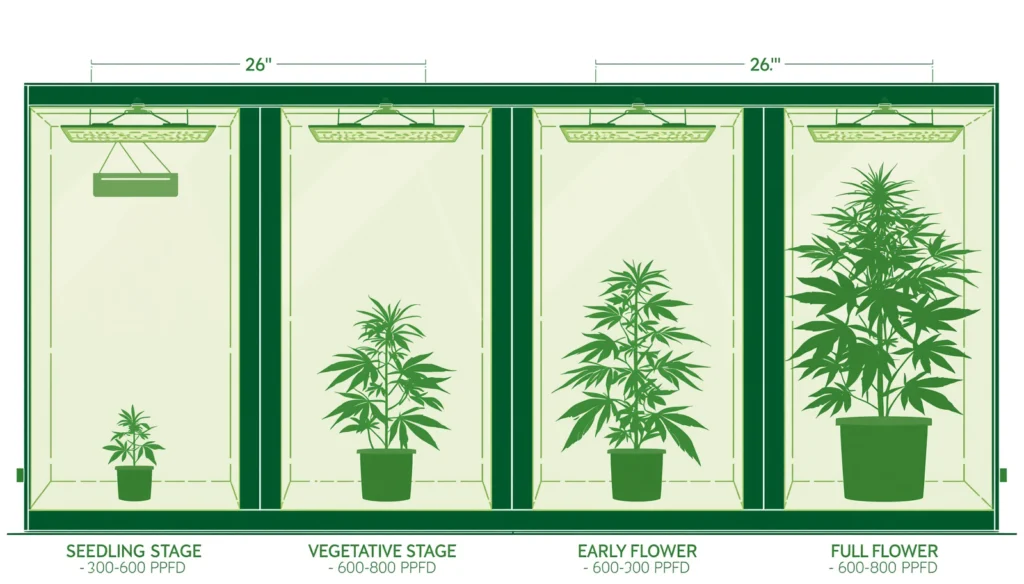
The table below gives starting-point hanging heights. These assume a mid-range quality bar-style LED at rated output. Dimming changes everything—a light running at 60% power can often hang closer than rated height without stress.
| Growth Stage | Hanging Height | Target PPFD | Signs of Too Close | Signs of Too Far |
|---|---|---|---|---|
| Propagation / clone | 30–36 inches | 100–200 µmol/m²/s | Leaf curl, bleaching | Stretching toward light |
| Seedling | 24–30 inches | 150–300 µmol/m²/s | Leaf taco, pale edges | Thin, leggy stems |
| Vegetative | 18–24 inches | 300–600 µmol/m²/s | Cupped leaves, stalled new growth | Slow, stretched internodes |
| Flowering / fruiting | 12–18 inches | 600–900+ µmol/m²/s | Bleaching, upward leaf curl | Pale buds, airy structure |
Start high, lower gradually. Moving a light from 30 inches to 18 inches over 5–7 days gives the plant time to acclimate. Dropping it 12 inches overnight is how you get stress symptoms that look like nutrient problems for the next two weeks.
With CO₂ supplementation at elevated levels, plants can tolerate significantly closer hanging distances—some cultivators move lights as close as 8–16 inches during flowering when CO₂ and temperature are properly managed. Without CO₂ supplementation, standard hanging heights apply.
How to Choose an LED Grow Light for Your Space
Every grow space is different. The goal isn’t to find the “best” LED grow light in general — it’s to find the right one for your specific footprint, crop, and budget.
Matching Fixture to Footprint
| Space | Actual Power Draw Needed | Best Form Factor | Key Consideration |
|---|---|---|---|
| 2×2 tent | 100–200W | Compact quantum board or single bar | Heat in tight spaces—choose external driver |
| 2×4 tent | 200–300W | Rectangular bar array | Coverage length vs width |
| 3×3 tent | 250–350W | Mid-size quantum board or 2-bar | Even distribution across square |
| 4×4 tent | 400–600W | Bar-style or large quantum board | Uniformity across 16 sq ft |
| 4×8 tent | 700–1,000W | Multi-bar array or two fixtures | Avoid dead zones at edges |
| Commercial / vertical | 800–1,200W+ | High-bay or modular systems | Network control, thermal management |
The most common mistake at purchase time is buying a fixture rated for a 4×4 footprint and expecting it to perform equally across every square foot. Rated coverage areas assume a specific minimum PPFD threshold—often 400 µmol/m²/s—which may be fine for leafy greens but inadequate for fruiting crops that need 600–900 µmol/m²/s.
The Five Questions to Answer Before You Buy
- What crop and what growth stage? Your DLI target comes from the crop table above. That DLI determines the PPFD you need. The PPFD requirement determines the fixture’s minimum output at your intended hanging height.
- What’s your actual coverage area? Measure in square feet. Don’t round up to the nearest tent size.
- What’s your electrical circuit capacity? Running a 600W fixture on an already-loaded circuit is a fire risk, not a growing strategy. Check your breaker rating.
- How much heat can your ventilation handle? Even efficient LEDs produce heat. A fixture running 500W in a 2×4 tent with inadequate exhaust will fry your VPD as fast as any HPS.
- Does the manufacturer provide third-party PPFD data? If the only PPFD map in the product listing was produced by the manufacturer with no independent verification, treat it with scepticism.
Check grow space sizing and fixture coverage with the Grow Space Planner—a supporting planning tool for layout and coverage decisions.
Once you’ve answered those five questions, visit the Shop Smart section for curated fixture picks by space size—filtered by actual draw, verified efficacy data, and real grower feedback rather than marketing claims.
Recommended LED Grow Lights
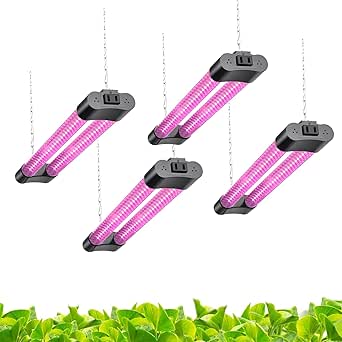
Verified for PPFD performance, build quality, and real-world grow room use. These picks cover every space from compact 2×2 tents to larger flowering rooms—all filtered for the specs that actually matter.



LED Grow Lights Guide: The Light and Environment Connection
Here’s something most LED guides skip, and it costs growers yield every single cycle.
Increasing light intensity without adjusting your environment is like pressing the accelerator while the parking brake is on. The plant responds to higher PPFD by transpiring faster — opening stomata wider, pulling water and nutrients from the root zone more aggressively. If the air can’t accept that moisture efficiently, the system stalls.
This is where VPD becomes inseparable from lighting decisions. VPD — Vapor Pressure Deficit — measures the moisture-holding capacity of your air as a function of both temperature and humidity. When you raise light intensity, you raise canopy temperature, which changes VPD even if you haven’t touched your humidity controls.
PPFD and DLI decisions should always be made alongside environmental targets. Higher PPFD in veg builds compact structure when climate and CO₂ can support it—stepping up light intensity without the environmental foundation to match produces stress, not growth.
The practical rule: every time you raise your light intensity by a meaningful amount—raising a dimmer from 60% to 80%, lowering hanging height by more than 4 inches, or transitioning from veg to flower intensity—check your VPD. Use the VPD Calculator to confirm your temperature and humidity combination is still in range for your crop stage before assuming the light change is working.
Ventilation Equipment for Light-Integrated Environment Control
Higher light intensity means more heat, faster transpiration, and more humidity load on your grow space. Inline fans, speed controllers, and carbon filters aren’t optional accessories — they’re how you make your LED investment perform at its rated output.


Common LED Grow Light Mistakes—and How to Fix Them
Comparing watts between manufacturers. Watts measure electricity consumption, not plant-useful output. A 400W bar-style LED from a quality manufacturer can outperform a 600W fixture from a lower-tier brand. Always compare µmol/J efficacy and verified PPFD maps, not wattage claims.
Buying coverage claims at face value. “Covers a 4×4 grow area” almost always means the fixture delivers a minimum workable PPFD across that footprint — often calibrated for leafy greens, not fruiting crops. If you’re growing tomatoes or peppers, halve the claimed coverage area to get the footprint that delivers flowering-level PPFD.
Ignoring the inverse square law. Doubling the distance between a light source and the canopy reduces PPFD by approximately 75%. This means a light that delivers 800 µmol/m²/s at 18 inches delivers roughly 200 µmol/m²/s at 36 inches. Distance matters enormously — and inconsistent hanging heights across a canopy produce wildly inconsistent results.
Forgetting to adjust VPD when raising intensity. Every meaningful light intensity increase changes your grow room’s thermal balance and therefore your VPD. Most “nutrient deficiencies” that appear after a light upgrade are environmental stress responses, not actual nutrient problems.
Running lights 24 hours. Plants need dark periods for metabolic processes that don’t occur under light. Vegetative growth runs best on 18/6 or 20/4. Photoperiod-sensitive flowering crops need 12/12. Autoflowers perform well on 18/6 or 20/4. Running lights continuously doesn’t accelerate growth — it suppresses it for most species.
Skipping DLI verification. Buying based on PPFD alone without calculating DLI means you don’t actually know whether your photoperiod is delivering the total light dose your crop needs. A light running at 500 PPFD for 12 hours delivers a DLI of 21.6—adequate for lettuce, borderline for tomatoes, and insufficient for high-DLI fruiting crops.
Buying fixtures without warranty or support. LEDs fail. Drivers fail faster. A fixture with no warranty, no accessible support, and no replacement parts policy will cost more in the long run than the premium fixture you hesitated to buy initially.
Learn how full spectrum vs red-blue spectrum affects different growth stages—supporting article on spectrum decisions for specific crop stages.
LED Grow Lights Guide: Advanced Optimisation
Once your fixture is installed and your DLI targets are confirmed, these are the optimisation decisions that separate adequate grows from excellent ones.
Dimming as a Growing Tool
Most modern bar-style LEDs include dimmer controls. Beginners treat dimmers as a precaution. Experienced growers treat them as a precision instrument.
Running a fixture at 60–70% during vegetative growth reduces heat, extends driver lifespan, and still hits your veg DLI target if your photoperiod is calibrated correctly. Stepping up to 85–100% for flower matches the higher DLI requirements of fruiting and flowering stages without changing hanging height.
Running a 600W fixture at 60–70% during vegetative growth can significantly reduce energy use while still hitting your target DLI levels. Stage-specific dimming is one of the cheapest and most effective efficiency upgrades available.
Far-Red and UV—When They’re Worth Adding
Far-red wavelengths (700–800nm) accelerate flowering response in photoperiod-sensitive crops. A brief far-red exposure at the end of the light period — called an end-of-day far-red treatment — can effectively extend the plant’s perceived dark period without changing your actual photoperiod. Useful for growers who want to tighten flowering schedules.
UV exposure (below 400nm) at low doses during late veg and early flower can increase secondary metabolite production in certain crops—essential oils in herbs, resin in specialty crops. The key word is low dose. Start with 15–20 minutes at end-of-day, monitor for leaf bleaching, and never introduce UV during the first two weeks of vegetative growth when tissue is most sensitive.
Light Uniformity Across Hydroponic Systems
Deep Water Culture: Light leaking into reservoirs through gaps around net pots or board edges creates algae. Choose fixtures with minimal side spill, or use opaque reservoir lids that eliminate the problem entirely.
NFT channels: Canopy height variation across a long channel means plants at different points in growth will be at different distances from the light. Bar-style fixtures with even longitudinal distribution handle NFT better than centralised panels.
Vertical systems: The top shelf always gets more light than the bottom shelf. Plan for this by using staggered planting schedules, rotating trays on a cycle, or selecting fixtures with narrow beam angles that concentrate photons on each tier’s specific canopy rather than spilling between levels.
LED Grow Lights Comparison: Form Factor Summary
| Fixture Type | Coverage | Uniformity | Heat | Best For | Avoid If |
|---|---|---|---|---|---|
| Quantum board (single) | Small–medium | Good at centre | Moderate | 2×2 to 3×3 tents | You need edge-to-edge uniformity |
| Bar-style (multi-bar) | Medium–large | Excellent | Low–moderate | 4×4+ tents, NFT, DWC | Budget is tight — these cost more |
| COB array | Small–medium | Variable | Higher | Deep canopy penetration | Low-height tents |
| High-bay commercial | Large | Good with proper spacing | Moderate | Warehouse, greenhouse | Home grows — overkill |
| Compact panel / strips | Very small | Moderate | Low | Propagation, seedlings, herbs | Fruiting crops at any stage |
Frequently Asked Questions About LED Grow Lights
What is the most important specification when buying an LED grow light?
Efficacy — measured in µmol/J — is the most useful single number for comparing fixtures because it tells you how efficiently each fixture converts electricity into plant-usable photons. After efficacy, look for third-party PPFD maps that show uniformity across the full coverage area, not just the centre reading. Wattage is the least useful specification for this decision.
How do I know if my LED grow light is strong enough for my crop?
Calculate the DLI your crop needs from the table above, then work backwards: divide your target DLI by your photoperiod hours and by 0.0036 to get the PPFD you need at canopy level. If your fixture’s PPFD map at your current hanging height shows less than that figure at canopy level, either lower the light, run it longer, or upgrade the fixture.
Why do my plants look stressed after I raised the light intensity?
Usually VPD. Higher light intensity raises canopy temperature, which changes the vapour pressure deficit of your grow space even if humidity hasn’t changed. Check your VPD with the VPD calculator—if you’re above 1.6 kPa for flowering or above 1.2 kPa for vegetative growth, the stress symptoms you’re seeing are environmental, not nutritional.
Is a 2.7 µmol/J LED significantly better than a 2.4 µmol/J LED?
At scale, yes. A 500W fixture at 2.7 µmol/J delivers 1,350 µmol/s. The same fixture at 2.4 µmol/J delivers 1,200 µmol/s — about 11% less output for the same electricity cost. Over a full growing season with lights running 16–18 hours per day, that difference becomes meaningful in both yield and electricity bills.
How often should I recalibrate hanging height?
Whenever your canopy changes significantly — transitioning from veg to flower, after major defoliation, when you change crops or pot sizes, or when you add CO₂ supplementation. The relationship between fixture height and canopy PPFD changes every time the canopy geometry changes. Check PPFD at canopy level with a PAR meter or calibrated app after any significant environmental change.
Light Is the Input You Can Control Most Precisely
Soil, weather, and season limit outdoor growers in ways that can’t be engineered around. Indoors, light is entirely within your control — the intensity, the duration, the spectrum, and the daily dose. That control is the core advantage of indoor and hydroponic growing, and the LED grow light is the instrument that delivers it.
The key takeaways from this guide:
- Measure in DLI and PPFD — not watts, not lumens
- Match your fixture to your crop’s DLI requirement—the table above gives you the targets
- Read PPFD maps for uniformity, not just peak center readings—edges matter as much as the centre
- Adjust VPD every time you raise intensity—light and environment are inseparable
- Use dimming as a precision tool—not just a safety measure
Grow With Hydroponics has a full suite of free tools to support every decision in this guide — from DLI calculation and VPD monitoring to grow space planning and nutrient mixing. The tools are there so your decisions are based on your actual numbers, not someone else’s generalised advice.
Your plants will tell you when the light is right. The goal is to understand what they’re saying before you have to ask.
Complete Hydroponic Growing Kits
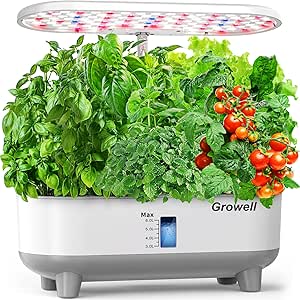
A quality grow kit gives you the right structure for managing light, environment, and nutrients from day one. These systems are chosen for practical setup, reliable airflow, and compatibility with the LED strategies in this guide.


Related Guides in This Cluster
- Best LED Grow Lights for Different Spaces—Fixture picks by tent size and setup type
- Most Efficient LED Grow Lights — Efficacy comparisons and µmol/J rankings
- Best Affordable LED Grow Lights — Budget fixtures that deliver real PPFD
- Full Spectrum vs Red & Blue Grow Lights—Spectrum decision guide by crop and stage
- LED Grow Lights for Seedlings — Low-intensity setup for propagation and early veg
- DLI Calculator — Confirm your daily light dose before buying or adjusting
- VPD Calculator — Cross-check environment every time you change light intensity
