

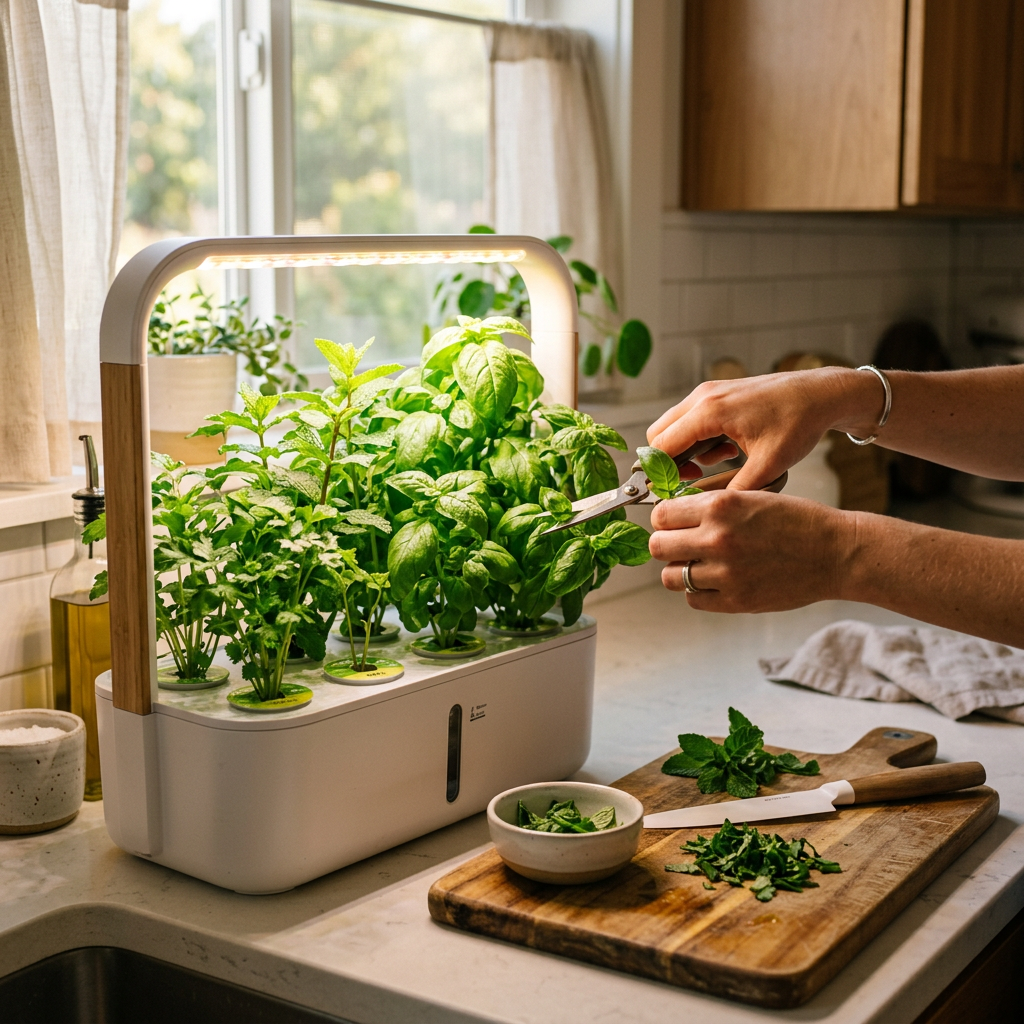
You bought a pot of supermarket basil. You put it on the windowsill. Three weeks later, half the stems had collapsed, and the leaves tasted of nothing. Every home cook has been there. The problem wasn’t the basil — it was the growing method. Soil-bound herbs from a supermarket were raised to look good for a week, not to actually produce for months.
Indoor hydroponic herb garden systems solve that problem completely. No soil, no pests hiding in the potting mix, no dependence on a sunny windowsill that delivers reliable light for maybe six hours on a good day. Roots sit in nutrient solution, light runs on a timer, and basil, mint, or parsley keeps producing long past the point where a supermarket pot would have given up.
At Grow With Hydroponics, we’ve watched this shift happen repeatedly: a grower who couldn’t keep a single herb plant alive in soil runs a productive countertop hydroponic system for months without serious problems. This guide covers which system actually fits a small home, how to set it up correctly, and what goes wrong most often.
What Makes Indoor Hydroponic Herb Garden Systems Better Than Windowsill Pots?
The short answer is consistency. The longer answer is control over every variable a windowsill can’t offer.
Herbs grown hydroponically in systems like DWC, NFT, or Kratky can be ready to harvest in 3–6 weeks when pH is kept between 5.5 and 6.5 and EC between 0.8 and 2.0 mS/cm, with 14–16 hours of light daily. Try replicating that timeline in a south-facing window through a northern winter. You can’t.
Beyond speed, hydroponics removes the main failure points of soil growing:
- No soil-borne disease—fungus gnats, root rot nematodes, and damping-off fungus need soil to establish. Remove soil, remove the problem.
- No watering guesswork—roots access nutrient solution directly. Overwatering and underwatering become almost impossible in a properly set-up system.
- No light lottery—built-in LED lighting delivers consistent photons regardless of weather, season, or which direction your windows face.
- Faster, measurable results — you can see the roots, check the nutrient level, and adjust before problems compound.
Countertop planters with 6–12 pod capacity integrate seamlessly into kitchen designs, fitting next to coffee makers or spice racks and keeping fresh herbs within arm’s reach while cooking. That proximity matters more than most people expect. If harvesting requires a trip to the garden, it happens less. If it requires turning and snipping, it happens every time you cook.
A complete guide to hydroponic herb kits for beginners: it covers kit selection, system types, best herbs to grow, and buying guidance for new hydroponic herb growers.
Which Indoor Hydroponic Herb Garden System Fits Your Space?
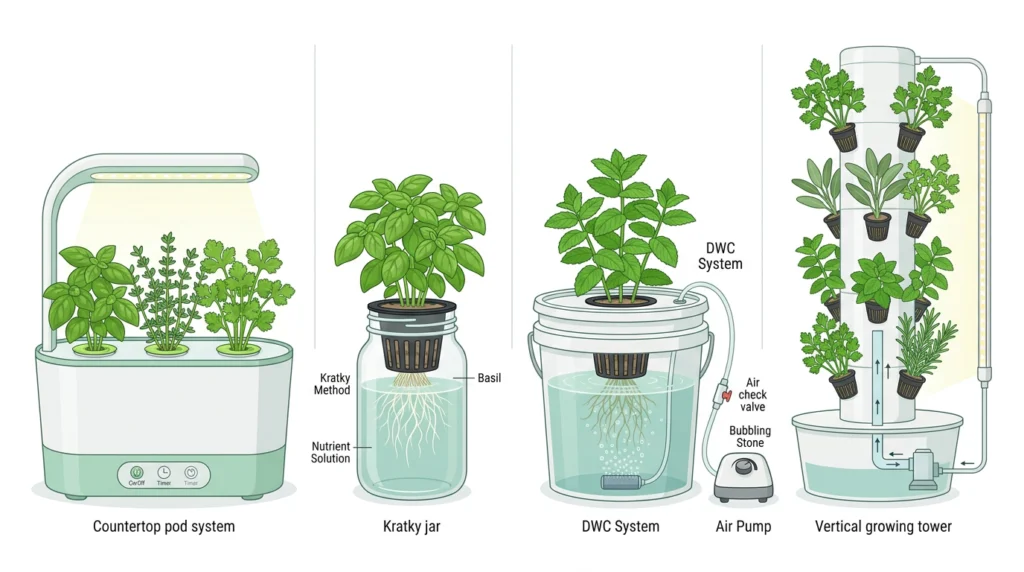
There isn’t one right answer. There’s a right answer for your counter size, budget, and how much you actually want to manage. Here’s how the three main system types for home herb growing compare honestly.
Countertop All-in-One Systems — Simplicity First
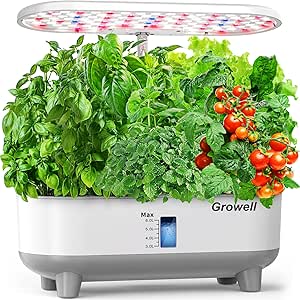
These are the plug-and-play category: a sealed unit with a built-in LED arm, a hidden reservoir, and pre-drilled pod slots for growing medium and seedlings. Most hold between 6 and 12 pods.
Full-spectrum LED grow lights with adjustable height in countertop systems enable 3–5x faster growth rates compared to traditional soil gardening, while compact designs with 5–6.5L water tanks fit small spaces and support continuous year-round herb and vegetable production.
The trade-off is cost per grow cycle. Most countertop units use proprietary pod systems that cost more per harvest than open-system nutrients. If you commit to one for years, that difference adds up. But for someone starting out who wants results without troubleshooting a DIY build, it’s the right call.
Best for: Beginners, kitchen counters, anyone who wants herbs without learning the underlying system mechanics.
Deep Water Culture (DWC) — The Beginner’s DIY Option
DWC suspends plant roots directly in an oxygenated nutrient solution inside an opaque reservoir. An aquarium air pump keeps oxygen levels high enough to prevent root rot. The reservoir sits under a drilled lid holding net pots filled with clay pellets or coco coir.
A functional DWC system for herbs costs $50–100, complete with a reservoir, air pump, net pots, and nutrients. DWC is more forgiving of pump failures than NFT—if the air pump stops for a few hours, plants survive—making it a better choice for beginners who want an active system.
The square or cubic shape of DWC systems allows them to fit even in small closets, under tables, or on countertops, with compact designs suitable for apartment living or urban homes.
Best for: Growers comfortable with basic DIY who want more control than a countertop unit offers, without the complexity of a circulating system.
The Kratky Method — True Passive Growing
The Kratky method requires no pump, no timer, and almost no maintenance. You mix nutrients into a container, suspend net pots above the water, and add light, and plants grow. It is ideal for herbs and leafy greens—the only skill it teaches is pH and EC management.
The Kratky method relies on the natural process of water evaporation and plant nutrient uptake to create an optimal air-to-water ratio in the growing container. By placing plants in a nutrient-rich solution within a sealed, light-proof container, roots access both water and oxygen as the solution level gradually decreases.
A Kratky setup for six herb plants costs $30–60. No electricity beyond the grow light. No pump to fail. If you’re in a rental with limited outlet access or genuinely want the lowest-commitment entry point, this is it.
Best for: Complete beginners, renters, and anyone who wants to test whether hydroponic growing suits them before investing further.
Vertical Tower Systems — Maximum Output, Minimum Footprint
Vertical growing systems transform empty walls into productive growing areas. Modern hydroponic towers climb upward rather than spreading outward, fitting easily into hallways, laundry rooms, or unused corners. Each shelf maintains its own drip irrigation and LED lighting, ensuring upper plants don’t shade lower ones.
Towers support 20–30 plants in the footprint of a single chair. The investment is higher ($200–$500 for a quality setup), and the learning curve is steeper, but for a household that uses herbs daily or wants variety, no other format delivers the same output per square foot.
Best for: Committed growers with vertical wall space and a genuine desire for high-volume herb production.
Shop Expert-Picked Indoor Hydroponic Herb Garden Systems
Whether you’re starting with a compact countertop unit or building a DWC setup from components, every kit below has been chosen for real herb-growing performance — not just pod count and box art.


Indoor Hydroponic Herb Garden Systems — Setting Up Correctly
A system that’s purchased correctly and set up carelessly still fails. These are the setup decisions that separate consistent harvests from inconsistent ones.
Location before anything else. Near an outlet, away from cold drafts and heat vents, and ideally somewhere you pass regularly — observation is how you catch problems early. A system hidden in a corner gets forgotten.
Light duration is non-negotiable. Most herbs need 14–16 hours of light daily. Incorporating LED grow lights and maintaining temperatures around 65–70°F can significantly boost growth rates for indoor herbs year-round. Use a timer. Manual light management fails eventually—your schedule drifts, and the plants pay for it.
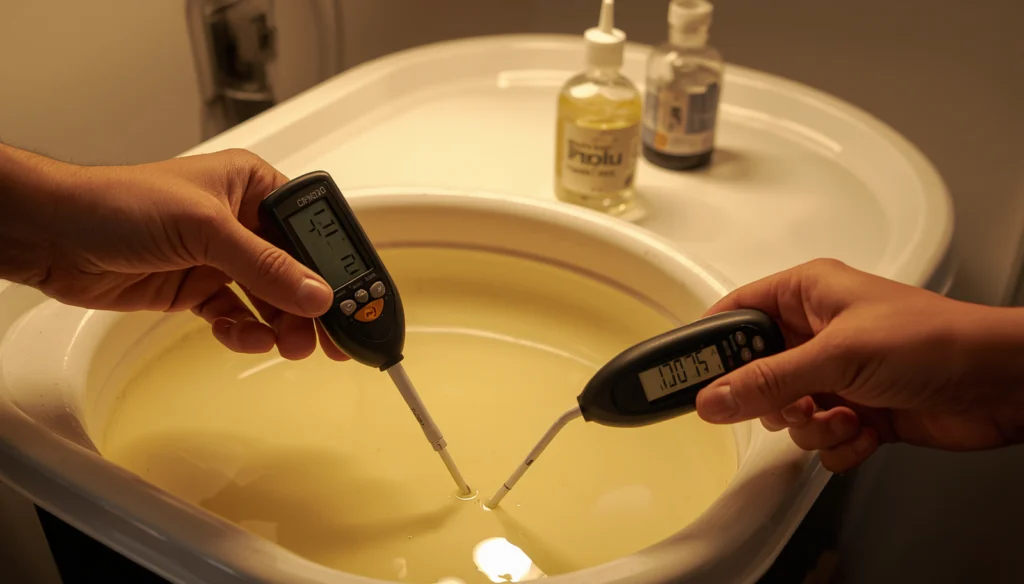
pH is the first thing to check, always. Two numbers keep hydroponics steady: nutrient strength (EC) and pH. For leafy greens and herbs, target pH close to 5.8, with a narrow range of 5.5–6.5. pH affects what the plant can take in from the nutrient mix—even perfect nutrients are unavailable outside this range.
EC tells you the concentration. An EC meter measures dissolved salts in millisiemens per centimeter. For leafy herbs and greens, aim for EC readings between 1.2 and 1.8 mS/cm—this ensures adequate nutrition without overwhelming sensitive roots.
Before you mix your first reservoir, use our Hydroponic Nutrient Calculator to get the exact ratios for your reservoir size and target EC. Mix to those numbers, then pH-adjust after—never before.
Reservoir changes. For recirculating systems like NFT and DWC, change the reservoir every 1–2 weeks. For Kratky and countertop units, one fill per grow cycle usually works for herbs and lettuce. If you notice yellowing despite regular feeding, change the solution rather than adding more nutrients to an already-imbalanced reservoir.
Shop pH & EC Meters
A quality pH meter is the single most important piece of equipment in any hydroponic herb system. These picks are chosen for accuracy, reliable calibration, and durability in the wet conditions of a working reservoir.
[fcpa_marquee category="ph-control" count="6"]
Best Herbs to Start With in an Indoor Hydroponic System
Popular herbs that grow well hydroponically include basil, thyme, oregano, mint, parsley, cilantro, and chives. Herbs thrive due to their compact size and rapid nutrient uptake.
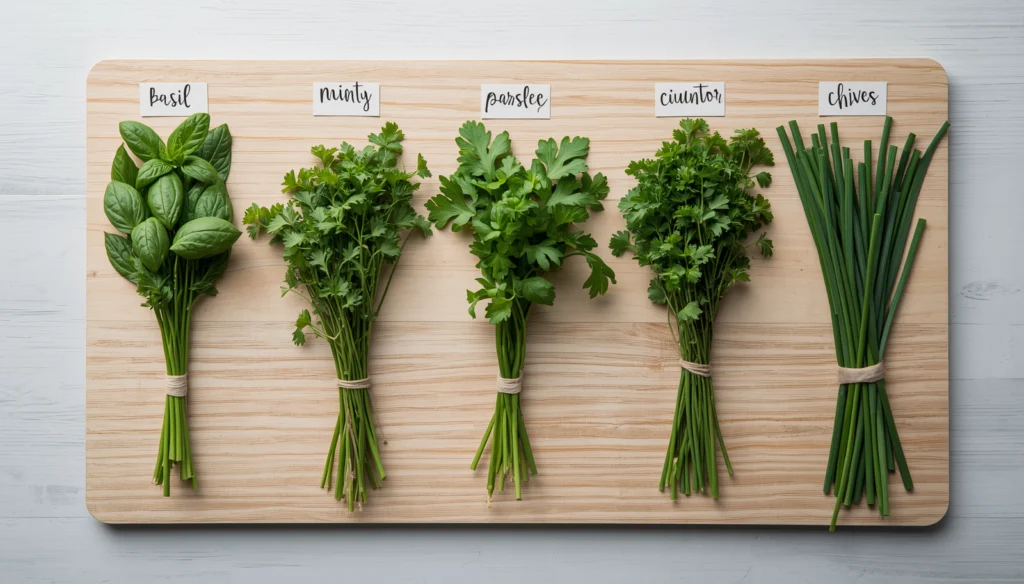
Start with this shortlist and the rationale behind each:
- Basil — fastest results, responds visibly to correct light, signals problems clearly through leaf colour
- Mint — aggressive growth means you’ll always have something to harvest; useful for testing whether your nutrient solution is performing
- Parsley and cilantro — quick cycles, minimal inputs, and genuinely used in most kitchens
- Chives — incredibly forgiving, tolerant of minor EC and pH swings, good confidence builder
Hold rosemary and thyme back until your second grow. These woody herbs have more specific requirements, slower growth rates, and prefer drier conditions than most herb hydroponic setups provide by default. Start with the fast-responders and expand your variety once the system’s baseline is established.
Shop LED Grow Lights for Indoor Herb Gardens
Most herbs need 14–16 hours of quality light daily — more than most windowsills provide year-round. These full-spectrum LEDs are sized for countertop and small shelf setups, delivering the right intensity without the heat or running cost of older fixtures.


Common Indoor Hydroponic Herb Garden System Mistakes and How to Fix Them
| Mistake | What Happens | The Fix |
|---|---|---|
| Adjusting pH before mixing nutrients | pH measurement is inaccurate; nutrient interactions change pH further after mixing | Always mix nutrients into water first, then pH-adjust |
| Light too far from canopy | Herbs stretch tall and thin and produce less flavour. | Lower light to 6–12 inches above canopy; use DLI Calculator to verify intensity |
| Transparent reservoir | Algae colonises nutrient solution within days | Use opaque containers only; wrap any clear sections with foil or tape |
| Skipping weekly checks | pH drifts outside 5.5–6.5; nutrient lockout causes yellowing | Check pH and water level every 2–3 days during first cycle |
| Overcrowding pods | Roots compete, airflow decreases, humidity problems develop | Follow spacing guidelines: most systems need 3–4 inches minimum between pod centres. |
| Adding nutrients to fix yellowing without testing | Pushes EC higher without solving the actual pH or deficiency problem | Test pH first; if in range, check EC against target; change reservoir before adding more nutrients |
Frequently Asked Questions About Indoor Hydroponic Herb Garden Systems
What is the best indoor hydroponic herb garden system for a small apartment?
A countertop all-in-one unit with a 6–12 pod capacity is the most practical starting point for a small apartment. It’s compact enough for a kitchen counter, requires no plumbing or DIY build, and produces consistent results for common herbs within 3–6 weeks. If space is the primary constraint, the Kratky method in a single container is the most minimal option possible.
How often do I need to maintain an indoor hydroponic herb system?
Daily attention isn’t necessary once the system is established. Check water level and pH every 2–3 days for the first grow cycle while you’re learning the baseline. After that, top off water as needed between full reservoir changes every 1–2 weeks for recirculating systems, or once per grow cycle for Kratky setups.
Can I grow different herbs together in the same hydroponic system?
Yes, with some awareness of compatibility. Basil, parsley, chives, and mint have similar nutrient and pH requirements and grow well together. Avoid combining herbs with very different light needs in the same system—for example, cilantro prefers cooler conditions and lower PPFD than basil, which can create an uneven canopy in a small countertop unit.
Why are my hydroponic herbs growing slowly?
Three common causes: insufficient light (check that the LED is delivering 14–16 hours daily at the right intensity), pH outside the 5.5–6.5 range (test before assuming it’s a nutrient problem), or EC too low (the nutrient solution isn’t concentrated enough for the growth stage). Check in that order, not simultaneously.
Do indoor hydroponic herb systems smell?
A well-maintained system with fresh nutrient solution and clean roots smells like the herbs themselves, which is pleasant. Problems arise when the reservoir goes too long without a change or roots begin to rot—both produce an unpleasant odour. Regular maintenance, opaque reservoirs, and good airflow near the system prevent this almost entirely.
The Right System Is the One You’ll Actually Maintain
Indoor hydroponic herb garden systems don’t require expertise. They require a few consistent habits: checking pH, topping off water, giving plants enough light, and changing the reservoir on schedule. Get those four things right and the system will produce reliably regardless of the time of year or what your windows face.
Start with the simplest system that matches your space. A Kratky setup in a single container teaches you the fundamentals. A countertop unit gives you results immediately with minimal learning curve. A DWC system gives you more control when you want it. All of them outperform a soil pot on a windowsill for herb production consistently and measurably.
At Grow With Hydroponics, the tools to get your first system dialed in are already free to use. Start with the Hydroponic Nutrient Calculator for your first reservoir mix, and when you’re ready to build or upgrade your setup, Shop Smart to find equipment that matches your actual space and goals.
