

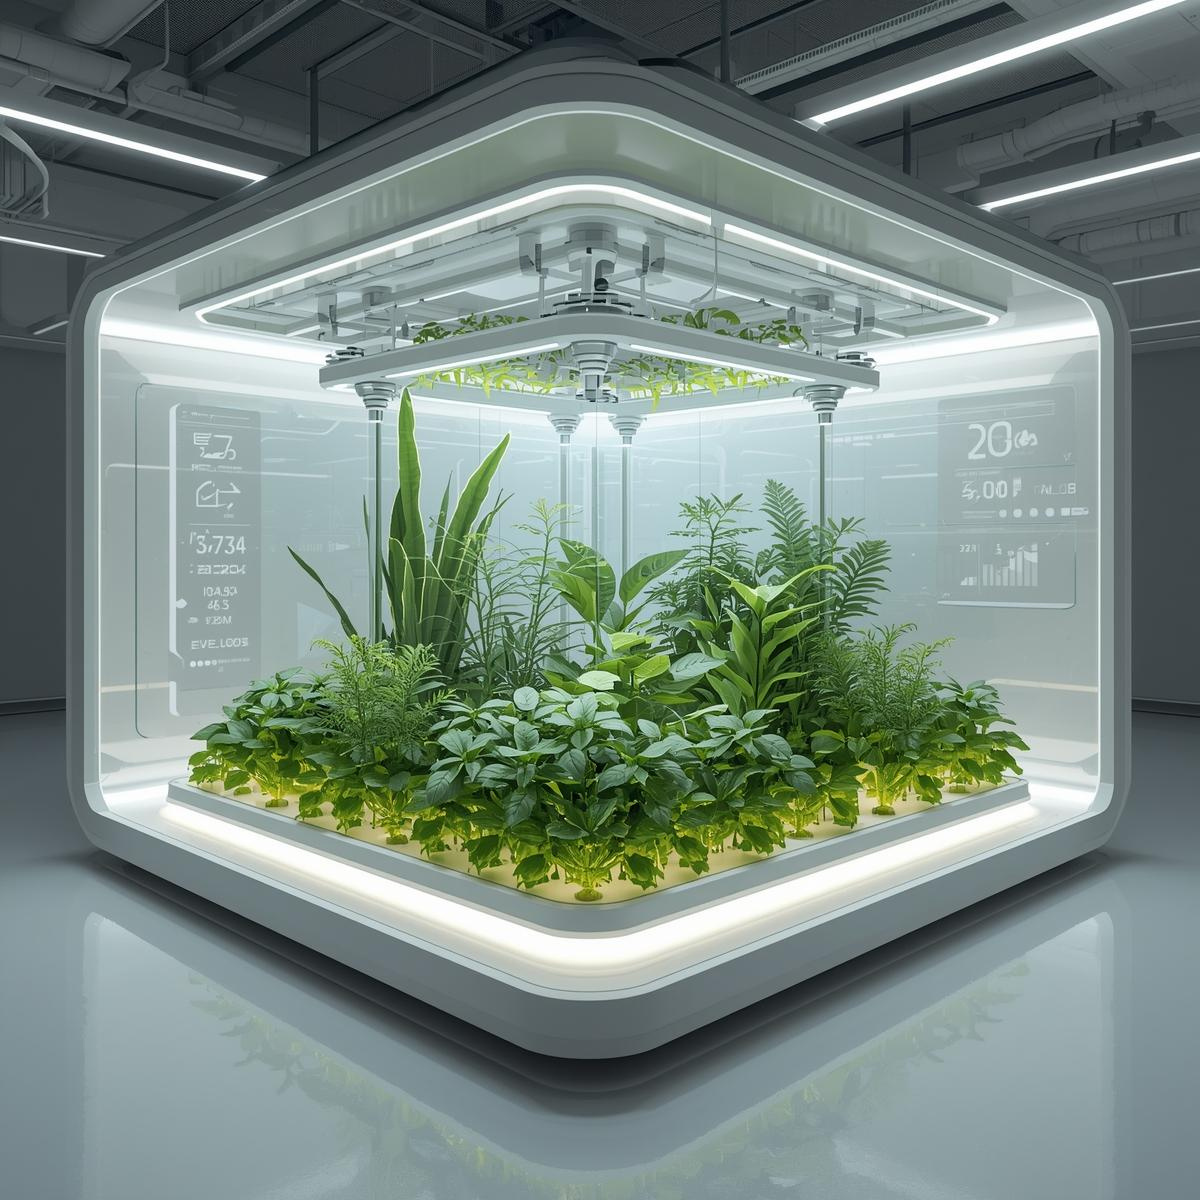
Tired of the guesswork in indoor gardening? The Grow Space Environment Simulator is a virtual planning platform that enables you to design, test, and optimize your hydroponic growing systems. Convert your grow tent, storeroom, kitchen shelf, or living room into a high-yield growing area. Save time and money with this all-in-one hydroponic design tool, without unnecessary trial-and-error or repeated transplant adjustments. You can get more yield at harvest time, even with limited space, all at a fraction of the cost. Instead of traditional methods, this interactive simulator replaces vagueness and guesswork with clear, data-driven visualizations. It’s more than just a growing planner; it’s a complete hydroponic educational system. It’s designed to provide you with all the essential principles of indoor hydroponic farming in an entertaining and risk-free way.
Why Your Hydroponic Garden Needs Simulation First
When you start a hydroponic system from scratch, it’s all too easy to make common and expensive mistakes. The GrowSpace Simulator is here to educate and relieve you from these worries: plants that crowd each other out for light, waste of precious space, lights that are underused, and unexpected delays or interruptions in your growth cycle. These mistakes waste your time, money, and yield, but with our virtual garden planner, you can avoid them. The Grow Space Simulator takes this tension away and gives you a sense of control. By offering up a virtual sandbox for your garden, it enables you to play endlessly in an experimental playground. This means that when you do begin placing real-world elements into the ground or boxes, every placement is optimized on day one to produce better plants, more harvests, and fewer wasted resources. You will be confident in your decisions.
How does it work?
The software uses a robust algorithm that simulates what happens in nature when plants grow. Here’s a step-by-step breakdown of how it works:
- Input Your Exact Grow Space Dimensions: Start by defining your space. Enter the length, width, and height of your specific hydroponic grow tent layout, individual cabinet, or room. This describes the digital parameters of your virtual garden so that all calculations are based on your real conditions.
- Choose from a wide variety of crops: Select from the popular indoor hydroponic crops. Whether you’re growing fast-growing leafy greens (lettuce, kale), aromatic herbs (basil, cilantro), or demanding fruiting plants like tomatoes and peppers, rest assured that every plant has data models for spacing, light requirements, and growth habits, all carefully developed and validated.
- Experiment with Advanced Environmental Controls: Here’s where the sim really excels. Move past basic setup and into the science of hydroponics:
- Spacing of Plants: Drag and drop to space plants. Keep the pods out of the shade and with a good airflow in order to reduce mold or disease risks.
- Light Cycles: Change your photoperiods (e.g., vegetation 18/6 and flowering 12/12) and see how light penetration changes in different sections of the canopy.
- Nutrients & pH: The simulator will also mix nutrients for your reservoir and can show you how imbalances stunt plant growth or cause nutrient lockout.
- Visualize, Analyze, and Optimize for Maximum Yield: Immediately acquire a 2D or 3D design of your garden. The simulator provides key metrics:
- Projected Yield: View estimated yields based on your setup conditions.
- Efficiency Score: Discover how effective you’ve been at making the most of your space and light.
- Plan Growth Stages: Plan your garden layout over time, including succession planting and continuous harvests.
The Unique Educational Advantage: “1 Second = 1 Day”
The GrowSpace Simulator is not like any other planner; it has a time-lapse mode. If you simulate so that one second equals one day of plant growth, soon enough, you can see your plant’s entire life cycle in minutes. This super feature lets you avoid overcrowding plants and other long-term challenges before they occur. Quickly experiment with hydroponic principles, and develop confidence by running a full growth cycle without risk in the real world.
Who is the GrowSpace Simulator for?
- Hydroponic Beginners: The ideal method without risk to start learning the ropes and gaining a thorough understanding of the key concepts, such as space, light, and nutrient management.
- Experienced Growers: A precision tool to completely manage and fine-tune advanced setups with ease, plan hydroponic garden layouts more effectively, and confidently experiment with new plants and varieties.
- Educators & Students: An essential hydroponic education tool for schools and workshops that helps bring hydro concepts to life!
Start Designing Your Perfect Hydroponic System Today
Stop wondering and start knowing. A person who means business when it comes to indoor hydroponic gardening will start your hydroponic journey the right way with the Grow Space Simulator. It’s going to keep you from making pricey mistakes and will make sure that you have a shortcut to plentiful yields.
Ready to optimize your grow space?
Visit the Grow Space Environment Simulator page to start your virtual garden now!

Dr. Awais Yousaf
Algorithm Specialist and Associate Professor leading R&D at Grow With Hydroponics. With 5+ years of hands-on experience in smart hydroponic systems, deep learning, and sustainable AgriTech, he is passionate about turning small spaces into high-yield indoor farms. Connect at awais.yousaf@iub.edu.pk