
There’s a specific moment most new growers don’t expect.
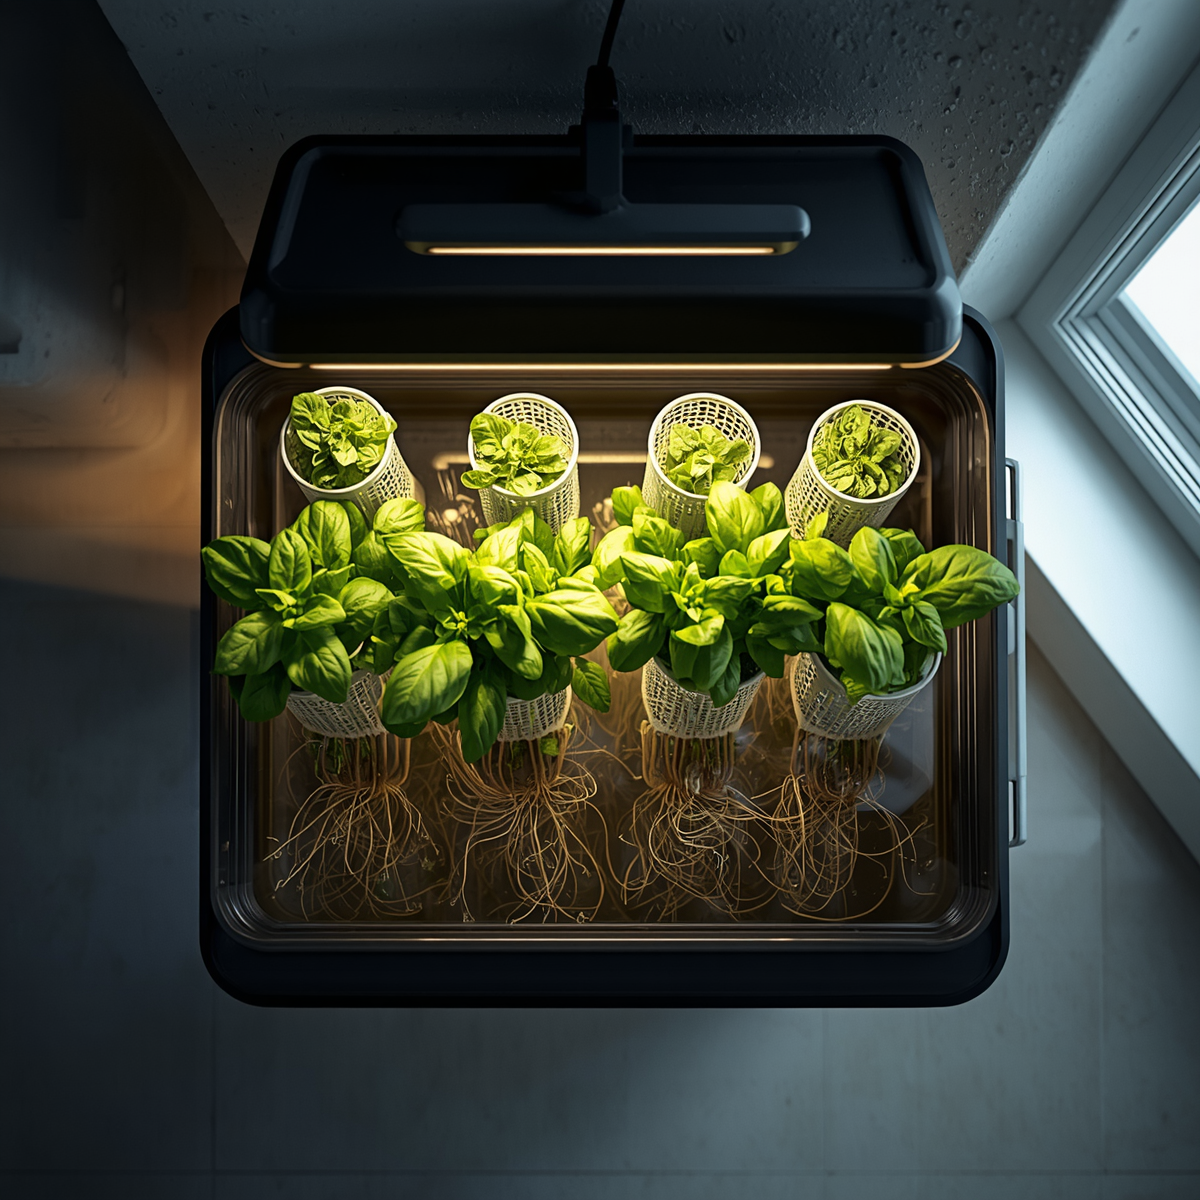
You’re standing over your system—roots hanging white in nutrient water, leaves pushing out faster than anything you’ve grown in soil—and you realize this actually works.
Not “maybe works with a bit of luck,” but “works.” Consistently, repeatably, measurably works.
But getting to that moment? That’s where most beginners lose the plot. They either overthink the equipment, trust a YouTube setup that’s more aesthetic than functional, or abandon ship after one batch of yellowing lettuce and call the whole thing overcomplicated.
This home hydroponic gardening manual is built around the practical stuff: what system to start with, what you actually need to buy, how to mix nutrients without guessing, and how to troubleshoot when things go sideways—because they will, at least once. At Grow With Hydroponics, we’ve worked through these exact questions with growers at every level, and the answers are simpler than most guides suggest.
Let’s get into it.
What Is Home Hydroponic Gardening—and Why Does It Actually Work?
Home hydroponic gardening means growing plants in nutrient-rich water instead of soil, indoors or in a controlled environment. The roots sit directly in or near that solution, absorbing everything they need without searching through layers of dirt.
That’s the core mechanic. And it explains why hydroponics consistently outperforms soil for indoor food growing.
When a plant in soil wants nitrogen, it depends on microbial breakdown, competes with other organisms, and spends energy hunting through the root zone. Give that same plant a precisely balanced hydroponic nutrient solution, and it skips all of that. The energy goes into leaves, stems, and fruit instead.
The results are hard to argue with:
- Lettuce that takes 60 days in soil is harvest-ready in 30–40 days hydroponically
- Yields per square foot far exceed traditional garden beds
- Water use drops by up to 90% compared to conventional outdoor growing, thanks to recirculating systems
- No soil means no soil-borne pathogens, no nematodes, no damping-off fungus
The control is the real advantage, though. You’re not hoping the soil has the right pH or that last year’s compost broke down correctly. You set the conditions. You adjust. You grow on your terms.
What Do You Actually Need to Start a DIY Home Hydroponic System?
Strip away the marketing, and a functional home hydroponic setup has maybe six or seven components. Here’s what matters and why.
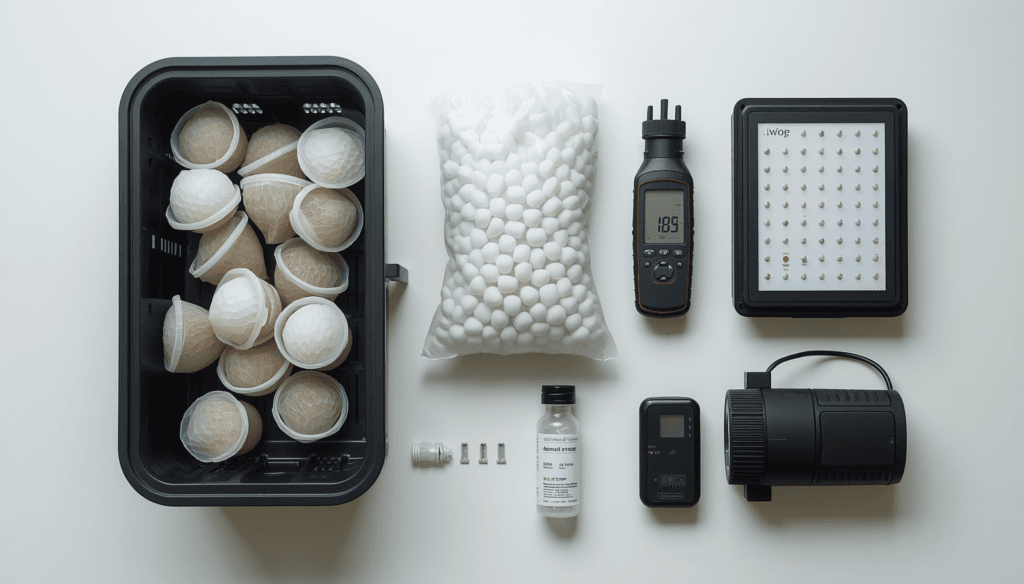
Reservoir or container: Any food-grade plastic container that holds water and blocks light. A black storage tote from a hardware store is ideal. Avoid anything translucent—light reaching your nutrient solution breeds algae fast.
Net pots: Small mesh cups that hold your growing medium and plant. Three-inch pots handle most herbs and leafy greens. You can make DIY versions from plastic cups with a few holes melted in the bottom.
Growing medium: This anchors roots and holds moisture. Expanded clay pellets (hydroton) are popular, reusable, and drain well. Perlite works. Rockwool cubes are effective but need a 24-hour soak in pH-adjusted water before use.
Nutrient solution: Plants need macronutrients—nitrogen, phosphorus, and potassium—and micronutrients including calcium, magnesium, and iron. Pre-mixed two-part or three-part nutrient systems are the most reliable starting point for beginners. Mixing correctly matters more than brand.
pH meter and adjustment solution: Non-negotiable. Most plants want a pH between 5.5 and 6.5. Outside that range, nutrients lock out—meaning they’re present in the water but the plant cannot absorb them. A $20 digital pH meter and small bottles of pH-up and pH-down solution will save you more frustration than any other purchase.
Grow lights: Unless you have a south-facing window with six-plus hours of direct sun daily, you need supplemental lighting. Quality LED panel lights designed for plant growth are the most efficient choice. For herbs and greens, even a full-spectrum LED shop light does a respectable job.
Air pump and airstone (for DWC): Dissolved oxygen in the nutrient solution keeps roots healthy and prevents rot. A basic aquarium air pump and diffuser stone are all you need.
When you’re ready to Shop Smart on equipment, match the light to your actual grow space rather than chasing the highest wattage number. Pair your purchase with our DLI Calculator to work out the right light intensity for your specific crops—it takes two minutes and removes most of the guesswork from lighting decisions.
Before adjusting EC, pH, or bloom ratios, read our complete guide on nutrient preparation and avoid the mixing mistakes that silently damage hydroponic plants: Mixing Hydroponic Nutrients Guide.
How to Build a Home Hydroponic Garden Step by Step
You don’t need an engineering background. The builds that work best are almost always the simplest ones.
Step 1: Choose the Right Home Hydroponic Gardening System
| System | Best For | Difficulty | Why It Works |
|---|---|---|---|
| Deep Water Culture (DWC) | Lettuce, herbs, kale | Beginner | Roots sit in oxygenated solution—low maintenance, fast results |
| Wick System | Small herbs, compact plants | Beginner | Fully passive, no pump required |
| Nutrient Film Technique (NFT) | Herbs, fast-growing greens | Intermediate | Thin flowing film keeps roots highly oxygenated |
| Flood and Drain (Ebb & Flow) | Wider crop variety | Intermediate | Periodic flooding mimics natural wet-dry cycles |

For first-time home hydroponic gardening, start with a deep-water culture setup. It’s forgiving, affordable to build, and produces fast results with leafy crops.
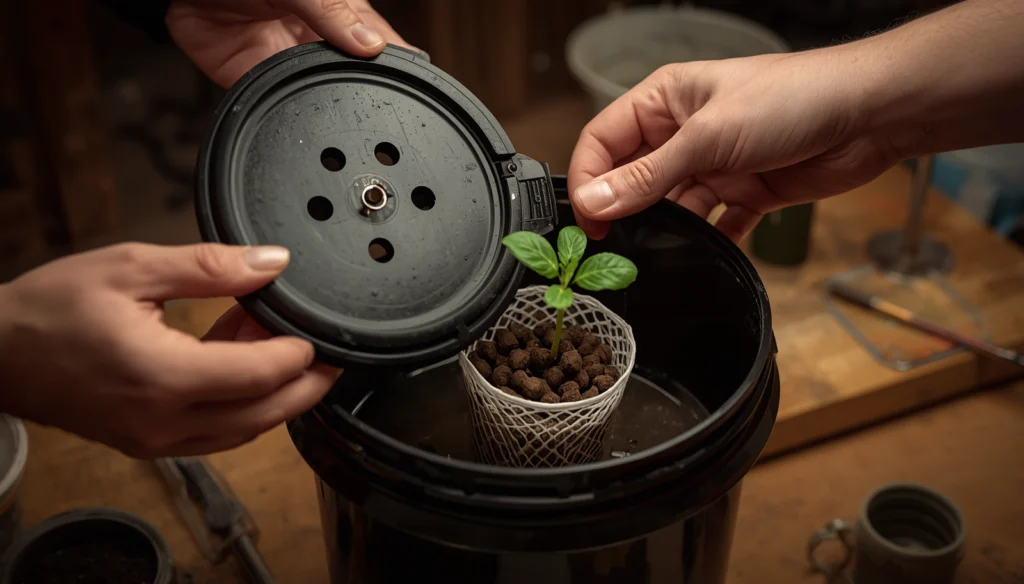
Step 2: Build Your Reservoir
For a simple DWC system:
- Take a 5-gallon bucket or opaque storage tote with a lid
- Drill or cut 3-inch holes in the lid for net pots
- Connect an airstone to a small aquarium pump, drop it in the bottom
- Fill to within two inches of the net potholes with nutrient solution
Total cost can be under $40 using repurposed containers and a basic air pump. One grower built this exact setup in an afternoon using a $6 storage tote, ran it for three full seasons, and eventually expanded to a six-bucket system. It started with one tote.
Step 3: Mix Your Nutrient Solution Correctly
Follow manufacturer instructions—don’t improvise ratios. Mix into room-temperature water, not cold. Always pH-adjust after mixing, not before.
Target 5.8–6.2 for most crops. Strawberries prefer a slightly lower 5.5–5.8. Check the solution every two to three days. Top off with plain pH-adjusted water as levels drop, since plants consume water faster than nutrients. Do a full reservoir change every two weeks to prevent salt accumulation.
Understanding EC and PPM in hydroponics: ec-ppm-hydroponics-explained.
Step 4: Plant Your Crops Strategically
Start with beginner-friendly crops:
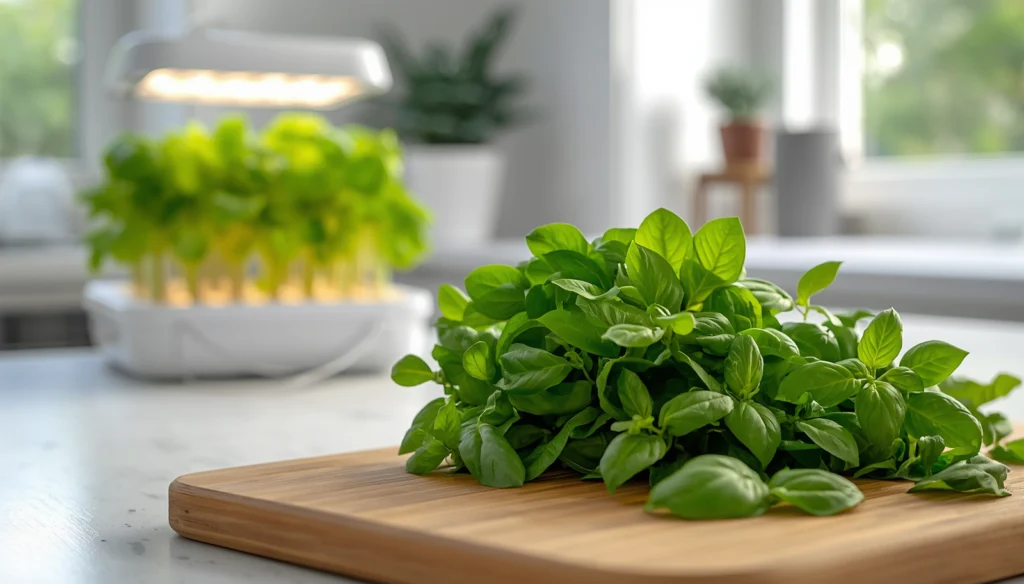
- Basil — thrives in hydroponics, fast to establish, forgiving of minor pH drift
- Lettuce — fastest return, ideal for learning the system
- Mint — grows aggressively, useful for testing nutrient uptake
- Kale or Swiss chard — tolerates a wide pH range and recovers well from beginner mistakes
Place seedlings or rooted cuttings in net pots so roots just touch the solution. The stem base should stay dry. As the plant establishes, roots will grow directly into the water.
Don’t start with tomatoes or peppers on your first run. They’re rewarding, but they have more specific requirements and longer timelines. Learn the system on greens first, then graduate upward.
Step 5: Set Up Lights and Build a Routine
Position lights 6–12 inches above the plant canopy for herbs and greens. Set a timer for 14–16 hours of light per day—consistency matters more than perfect intensity.
Check the system every two to three days:
- Top off water levels
- Verify pH hasn’t drifted
- Scan leaves for early signs of deficiency or pest pressure
That’s the whole routine. The most common mistake beginners make is over-adjusting. If you changed something yesterday, give the plant a few days to respond before touching anything else. Hydroponics rewards observation more than intervention.
How to Do Home Hydroponic Gardening Without Breaking the Bank
DIY shouldn’t mean expensive. Here’s where to be genuinely smart about spending:
- Repurpose containers: Black storage bins, old food-grade buckets, even clean kitty litter containers work as reservoirs
- Skip specialty net pots: Plastic cups from a dollar store with holes melted in the bottom function identically to branded net pots at $3 each
- Buy nutrients in concentrate: Pre-diluted products cost far more per litre than two-part concentrated formulas
- Start with one system: Build one DWC bucket. Run a full grow cycle. Make your mistakes on a small scale before expanding
A complete beginner setup—including lights, nutrients, pH meter, and reservoir—can be assembled for $150–$250. That often pays back within one or two growing seasons when you factor in the cost of fresh herbs and salad greens.
Common Home Hydroponic Gardening Problems and How to Fix Them
Every grower hits problems. The trick is knowing what you’re actually looking at.
| Problem | Most Likely Cause | Fix |
|---|---|---|
| Yellowing leaves | pH lockout or nutrient deficiency | Check and adjust pH to 5.8 first. Reassess nutrient levels if no improvement within 3–4 days |
| Wilting despite full reservoir | Pump failure or root rot | Check pump function. Examine roots for brown, slimy appearance. Increase dissolved oxygen |
| Green algae in reservoir | Light reaching nutrient solution | Cover all openings. Paint or wrap exposed surfaces. Block every light path |
| Leggy, stretching seedlings | Light too weak or positioned too far | Lower lights to 4–6 inches. Extend photoperiod to 16–18 hours temporarily |
| Stunted growth | Low pH, under-nourishment, or warm root zone | Check pH and EC. Keep root zone below 72°F (22°C) |
Frankly, pH problems account for the majority of beginner complaints. Leaves yellow. Growers add more nutrients. pH drifts further. Growth stalls. Test pH before you diagnose anything else—it’s the first variable, not the last.
Start Small. Grow From There.
Home hydroponic gardening is one of the few productive hobbies that pays back in tangible food, transferable skills, and a satisfying level of control over something that usually feels completely out of reach. You grow it. You harvest it. You eat it. The loop closes fast—faster than most people expect.
Start simple. One DWC bucket, a handful of lettuce and basil, a decent LED light, and a pH meter. Run one grow cycle before expanding. The principles you learn in that first run—pH management, light distance, nutrient timing—carry across every system and every crop you’ll ever grow.
At Grow With Hydroponics, the goal has always been to make that learning curve shorter and the growing more consistent. The tools are here. The knowledge is here. Learn more about mixing your own nutrients in the Hydroponic Nutrient Guide for Beginners.
Use the DLI Calculator to get your lighting dialed in from day one and explore curated equipment through Shop Smart when you’re ready to build out your setup.
Then plant something. That’s the only step that actually matters.
Frequently Asked Questions About Home Hydroponic Gardening
How much does it cost to start a hydroponic garden at home? A basic DWC system using repurposed containers can be built for $50–$80. A full setup with lights, nutrients, and a quality pH meter typically runs $150–$250. Ongoing costs are low once the system is established.
What are the easiest plants for home hydroponic gardening? Lettuce, basil, mint, kale, spinach, and Swiss chard. These grow quickly, tolerate minor fluctuations, and give you fast, readable feedback. Save tomatoes and peppers for your second or third run.
Do I need special water for a hydroponic system? Tap water works in most cases. If your tap water exceeds 300 ppm, consider cutting it with distilled water or using a basic RO filter. Let chlorinated tap water sit uncovered for 24 hours before use to off-gas chlorine.
How often do I need to check my hydroponic system? Daily for the first week while you learn the baseline. After that, every two to three days for water top-offs and pH checks. A stable system is genuinely low maintenance—don’t let the idea of constant monitoring put you off.
Can home hydroponic gardening work without grow lights? Only reliably if you have a south-facing window with six or more hours of direct daily sunlight. Most indoor environments, especially in winter, fall well short of that threshold. LED grow lights are the practical solution for year-round consistency.