
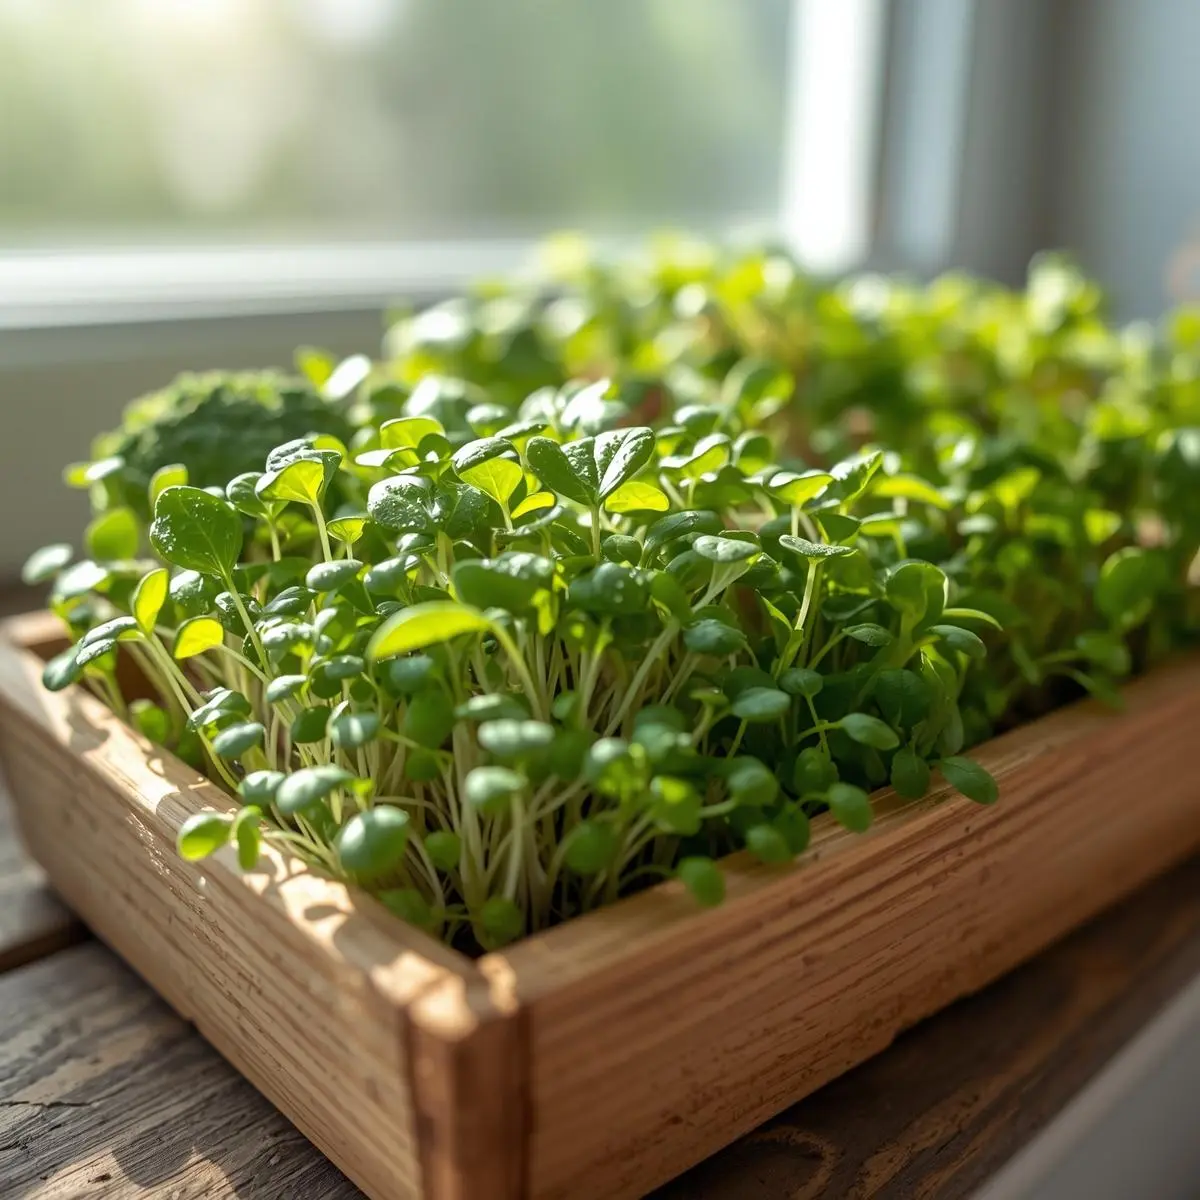
If you’re feeling the itch to grow something but the idea of tending a full garden feels like a part-time job you didn’t apply for, I have your solution. Start with microgreens for beginners. These tiny, nutrient-dense greens are the ultimate shortcut to a green thumb. They’re easy microgreens for beginners, they’re fast, and they deliver a tangible payoff on your kitchen counter in about two weeks. Forget the hype and complexity. This is gardening reduced to its most satisfying essentials. At Grow With Hydroponics, we always point newcomers here first—it’s the foundational win you need.
Why Microgreens Are Perfect for Beginners
Let’s cut to the chase. Microgreens solve the classic beginner triathlon: impatience, limited space, and fear of failure. If you’ve ever killed a houseplant, this is your foolproof restart. There’s zero pressure, only progress.
- Speed: Most are harvest-ready in 7-21 days. You get gratification, not frustration.
- Space Efficiency: A single tray on a windowsill is a legitimate farm.
- Forgiveness: Their short life cycle means mistakes (over-watering, imperfect light) are learning moments, not catastrophes. You still get a crop.
- Nutrient Density: Gram for gram, they often outperform their mature counterparts in vitamins and antioxidants.
They’re not a consolation prize; they’re a masterclass in the fundamentals.
The Top 4 Microgreens You Should Start With
Don’t overthink your first order. Stick with these proven, fast-growing microgreens for first-timers. Each teaches you something different about the process.
1. Radish Microgreens
This is where I tell every single beginner to start. Radish greens are the definition of easy-to-grow microgreens. They germinate in under 48 hours and are ready to harvest in just 7-10 days. That visual payoff is crucial for building confidence. The spicy, peppery kick is a bonus. It’s proof that you can, in fact, grow real food.
2. Broccoli Microgreens
Broccoli microgreens for beginners offer a mild, grassy flavor perfect for salads and sandwiches. Their real selling point is the well-researched nutritional profile, particularly their high levels of sulforaphane—a compound linked with significant health benefits. They’re a gentle, 10-14 day grow that makes you feel like a wellness pro with minimal effort.
3. Pea Shoot Microgreens
If you want something tender and subtly sweet, grow pea shoots. They’re incredibly forgiving and have a satisfying, substantial texture. Frankly, if you’ve ever killed a houseplant, grow these. Their vigorous growth in 10-14 days will rehabilitate your gardening ego. They’re the ultimate beginner-friendly confidence builder.
4. Sunflower Greens
For a nutty, crunchy bite that feels more like a hearty green, choose sunflower. You must use black oil sunflower seeds (the birdseed kind). They require a simple pre-soak and do best with a bit of weight on them during germination to help shed the hull. The 10-14 day result is a dense, delicious microgreen that teaches you a slight nuance in technique.
How to Grow Microgreens: A Step-by-Step Guide
You need gear, but let’s keep it stupidly simple.
- The Setup: A shallow tray (with drainage holes), a second tray without holes to catch water, and a sterile, fine-textured seed-starting mix. Not garden soil.
- Sow & Mist: Fill your tray with pre-moistened mix, scatter seeds densely, press them in, and give a final gentle mist.
- The Blackout Period: Cover the tray (another inverted tray works) for 2-3 days. This mimics sowing underground and encourages strong stem growth.
- Uncover & Shine: Once sprouted, expose them to light. This is the most critical step.
Indoor Growing Tips for Microgreens
Yes, you’ll likely grow these indoors. A sunny south-facing window can work, but here’s the honest truth: the leggy, pale seedlings from weak window light are a mediocre result. For consistent, stout, dark-green microgreens, you need controlled bright light.
Choosing the Right Grow Lights for Microgreens
This is where most beginners buy the wrong thing. You don’t need a $300 fixture. You need appropriate intensity. Fast-growing microgreens need enough light to stay compact and develop flavor, not just to survive.
Shop Smart for grow lights, and pair the purchase with our DLI Calculator. It ensures you’re buying the right fixture for the intensity your chosen microgreens need—not just the brightest, blurple-colored one.
Quick-Reference Care List:
- Watering: Mist at sowing, then water only from the bottom by filling the outer tray. This keeps stems dry and prevents mold.
- Airflow: Gentle air circulation (a small fan on low) strengthens stems and wards off fungal issues.
- Harvest: Use sharp scissors, cut just above the soil line, and harvest the entire tray. They don’t regrow. Rinse and eat immediately.
That first harvest, snipped into your morning eggs, is a mini celebration. Trust me, once you taste it, you’ll want to grow everything.
When You’re Ready to Optimize Your Grow
After your first few successful harvests, you’ll start noticing subtleties. Why is this batch a bit leggy? Why is growth slowing? This is where moving from “growing” to “cultivating” begins.
That vague advice about “good airflow” becomes precise with our VPD Calculator. It helps fine-tune your environment so your microgreens thrive consistently—balancing temperature and humidity for optimal growth, even if plant science isn’t your thing. For planning a continuous, nonstop harvest, the Multi-Crop Planner is indispensable. It turns enthusiasm into a seamless system.
Not sure whether to grow herbs or microgreens first? Find out which is best for your kitchen here: Herbs vs. Microgreens: Which is Right for Your Kitchen? Your setup choice matters. Discover the best options for indoor growing of vibrant, healthy microgreens.
Your First Steps into Growing Microgreens
Starting with these easy microgreens for beginners isn’t a compromise—it’s the smartest first move you can make. You learn the full cycle, quickly. You taste immediate success. You build the foundational skills for more ambitious growth.
Ready to see results in just 10 days? Grab a packet of radish seeds and get started now. That’s the entire point—action, not over-planning.
For more no-fluff guides, tools, and a community that cuts the learning curve, everything at Grow With Hydroponics is built for this exact journey. Now go get your scissors dirty.
Dr. Awais Yousaf
Algorithm Specialist and Associate Professor leading R&D at Grow With Hydroponics. With 5+ years of hands-on experience in smart hydroponic systems, deep learning, and sustainable AgriTech, he is passionate about turning small spaces into high-yield indoor farms. Connect at awais.yousaf@iub.edu.pk