
You’re diving into hydroponic gardening, which means you already know the big win: growing massive amounts of food while ditching the soil, saving space, and using a fraction of the water. It’s an intoxicating concept. But here’s the reality—while the setup itself is straightforward, maximizing your yield is not.
Frankly, moving from a decent harvest to truly crushing your goals requires ruthless planning. I’m talking about thinking through everything: who’s sharing the nutrient tank, how you’re managing the daily chemistry swings, and how you’re squeezing every photon of light out of your vertical space. Studies show hydroponic gardening systems can produce 20–25% faster plant growth while using up to 90% less water compared to soil cultivation, which is why commercial growers rely heavily on optimized systems.
Hydroponics isn’t just gardening—it’s system design.
And if you’re serious about it, the resources at Grow With Hydroponics can help you move from guesswork to a calibrated plan.
What is Hydroponic Gardening?
At its core, it’s simply growing without dirt. We bypass the soil entirely and feed the plants exactly what they need, delivered via a nutrient-rich water solution. The payoff? Faster growth rates, incredible space efficiency, and the ability to set up production in places traditional farming can’t touch—like an unused warehouse corner or a sunny apartment balcony.
Systems vary widely, from passive Kratky jars on a windowsill to complex commercial setups like NFT (Nutrient Film Technique) or DWC (Deep Water Culture). But regardless of your chosen hardware, long-term success is a planning issue, not a technical one. If you’re new to soilless growing, start with our complete guide to what hydroponics is and how hydroponic systems work, which explains the fundamentals before you design your setup.
Why is Planning Important for Hydroponic Gardening?
Look, planning isn’t optional; it’s the non-negotiable foundation. Without a solid blueprint, you’re just inviting inefficiency, plant stress, and disappointing yields. I’ve seen beginners throw money at lights and pumps only to wonder why their tomatoes are sulking. A proper plan does three things for us:
Space Maxing: It forces us to optimize the layout—that’s how you fit a viable number of healthy plants into a constrained footprint.
Compatibility Control: Plants are picky. They have specific requirements for pH, EC (electrical conductivity), and light. Planning ensures everyone in the tank is compatible and thriving, not just surviving.
Chemistry Tracking: It gives you a clear protocol for monitoring and adjusting nutrient levels. This ensures your crops get the exact fuel they need, exactly when they need it—not just when you remember to check.
How to Optimize for Maximum Yield: The Six Key Steps
Let’s walk through the tactical steps required to run your hydroponic gardening operation like the high-performance system it is.
1. Choose the Right Plants for the Job
In a multi-crop hydroponic environment, choosing the right “employees” is crucial. Not everything loves a soil-free existence, and trying to force incompatible plants together is a fast track to nutrient management headaches. I once tried to run strawberries with lettuce—the strawberries wanted a much spicier diet, and the lettuce bolted before I could even harvest.
The Professional’s Quick List:
Leafy Greens: The easiest entry point. Lettuce, spinach, and kale are perfect. They grow fast and don’t require heavy nutrient loads, keeping your solution simple and stable.
Herbs: Basil, mint, and oregano are also solid picks. They’re low-maintenance and demand minimal physical space. Just keep mint in its own container—it will try to take over.
Fruiting Plants: Tomatoes, peppers, and cucumbers are the high-reward crops. But be warned: they demand intensive management, higher light intensity, and significantly heavier feeding schedules. Plan your commitment level here before you get in over your head.
2. Space Planning: Go Vertical or Go Home
Space is capital in hydroponic gardening. Your focus should be on ruthless efficiency and maximizing the vertical axis. If you’re not growing upward, you’re leaving money on the table.
Vertical Strategy: Use racks or towers. Since you don’t need deep soil, the biggest yield gains come from utilizing multiple levels. Why use one floor when you can use four? I’ve seen 4×4 tents outfitted with shelving units that out-produce entire spare bedrooms.
Height Arrangement: Put taller, bushier plants—like determinate tomatoes—at the back or on lower shelves. This prevents them from shading out shorter, more sensitive crops that need full light exposure.
Airflow is King: Don’t overcrowd. I know the temptation is to squeeze in just one more NFT channel, but stagnant air is the quickest way to invite botrytis or powdery mildew. Give your crops breathing room.
3. Select Compatible Crops: Managing the Roommates
This is where many operations get bogged down. Plants must have similar needs, or you’ll constantly be trying to please two incompatible masters in the same nutrient tank. It’s a chemistry nightmare.
Compatibility Factors We Track:
pH and EC Range: Every plant has a preferred range. For instance, lettuce is happy at pH 5.5-6.5, but tomatoes might demand a slightly higher pH of 6.0-6.8. Trying to satisfy both in a single reservoir is a recipe for lockout. Group your plants by their shared optimal chemistry.
Light Requirements: Match light hogs with light hogs. Leafy greens are often fine with lower light intensity, but fruiting plants require massive amounts of energy (measured in DLI) to reach peak production. Learn how to calculate your Daily Light Integral (DLI) using our hydroponic lighting guide..
Growth Cycles: Be aware of maturation times. Lettuce is ready in 30 days, while tomatoes can take 80 or more. If you mix them, you’ll need a staggered replanting schedule, otherwise the nutrient profile optimized for a fruiting tomato will stress your young lettuce.
To make this easier, here’s a quick reference table based on what I’ve seen work (and fail) in shared systems:
| Crop Type | Ideal pH Range | Ideal EC Range (mS/cm) | Light Preference | Best Use Case |
|---|---|---|---|---|
| Leafy Greens | 5.5 – 6.5 | 1.2 – 1.8 | Moderate / Lower DLI | Beginner systems, rapid turnover |
| Herbs | 5.5 – 6.5 | 1.4 – 2.0 | Moderate | Interplanting with greens |
| Fruiting Plants | 6.0 – 6.8 | 2.2 – 3.5 | High / High DLI | Dedicated systems, advanced growers |
| Strawberries | 5.5 – 6.2 | 1.4 – 2.2 | High | Perennial towers or dedicated gutters |
4. Master the Chemistry: Optimize Nutrients and pH Levels
The water isn’t just a delivery vehicle; it’s the medium. This means nutrient management is arguably the most critical variable. You are the chef, delivering the precise macro and micronutrients needed for maximum output.
The Nutrient Management Protocol:
Balanced Solution: You must use a solution containing all essentials: nitrogen, phosphorus, potassium, calcium, and magnesium. Keep in mind that the ratio must pivot as the plant switches from vegetative to flowering/fruiting phases.
Religiously Test pH: Keep the pH constantly monitored. Most hydroponic plants aim for the 5.5-6.5 range. Outside of that window, nutrients literally become chemically “locked out,” and your plants can’t absorb them—even if the nutrients are physically in the water.
Adjust EC: Electrical Conductivity (EC) measures nutrient concentration. Too high, and you risk root burn. Too low, and you’re starving your crops.
Understanding nutrient balance is critical for yield. If you want a deeper breakdown of macro and micronutrients, read our guide to hydroponic nutrient solutions.
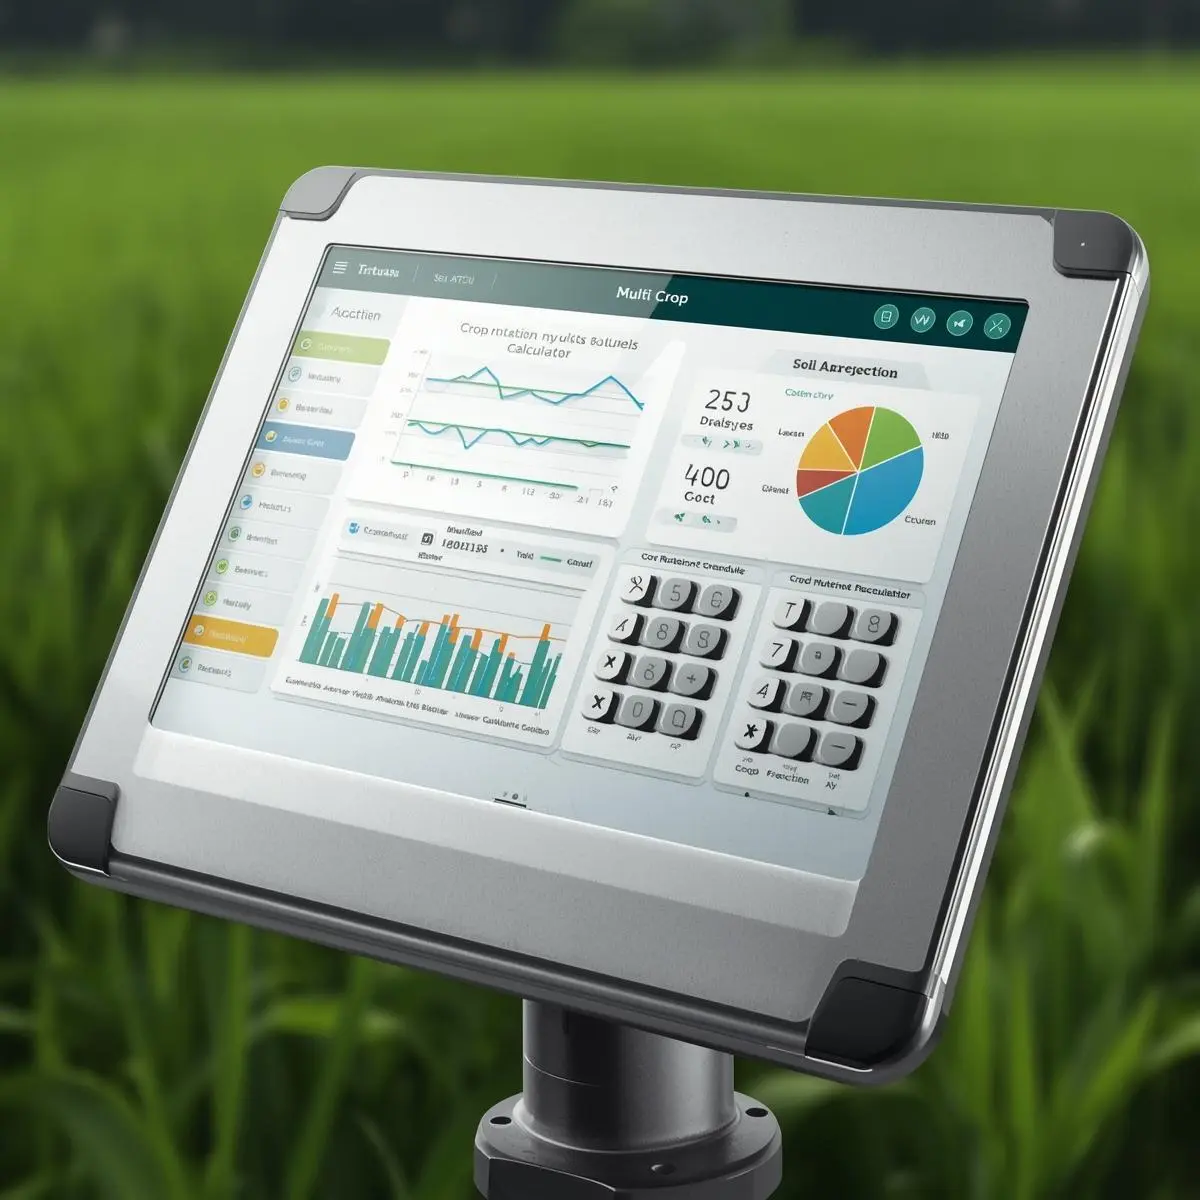
For example, I once had a pepper plant in a shared tank start showing yellowing leaves even though the EC looked fine on paper. Turns out, the pH had drifted to 7.2 overnight. The calcium and iron were present in the water but chemically unavailable to the plant. A quick pH adjustment back to 6.2, and the new growth was green within three days. Check it often, and adjust the balance with fresh water or concentrated nutrients. Instead of guessing nutrient ratios, many growers use a hydroponic nutrient calculator to instantly determine the correct solution strength for their reservoir size and crop type.
5. Automation Is Not a Luxury—It’s Consistency
Here’s the good part: the ultimate benefit of hydroponic gardening is control, and automation is how you guarantee that control is rock-solid, 24/7. This is your best tool for yield maximization because it removes human error.
Essential Automation Tools:
Automated pH and EC Controllers: These devices continuously monitor and correct the water chemistry. They’re an investment, yes, but they prevent the disastrous overnight pH swings that can wilt a crop by morning.
LED Grow Lights with Timers: Set your light cycles once and ensure perfect consistency. For a high-performance system, a rigid, reliable photoperiod is non-negotiable. Shop Smart for fixtures with dimmers so you can adjust intensity as plants mature.
Water Pumps and Timers: Automate your irrigation cycles to prevent overwatering and ensure the root zones remain oxygenated. In media like coco or perlite, consistent, automated fertigation is the secret to explosive growth.
6. Control the Environment: Airflow and Temperature
If your plants are struggling to breathe or manage heat, the best nutrient plan in the world won’t save them. Maintaining a stable atmosphere is critical for preventing disease and driving efficient growth.
Temperature Stability: Most crops thrive between 65-75°F (18-24°C). Fruiting plants might want a slight nudge toward the top of that range, but maintaining stability is the key to general health. Big swings in temperature cause stress, which invites pests.
Air Circulation: Use oscillating fans to ensure robust airflow. This prevents humidity pockets that breed mold and fungus, and it strengthens stems by simulating a light breeze, which helps the plants transpire efficiently.
Common Mistakes That Reduce Hydroponic Gardening Yield
Even with the best intentions, it’s easy to stumble. I’ve made most of these mistakes myself, and I’ve watched countless others do the same. The good news? They’re all avoidable once you know what to look for.
Ignoring Water Temperature: This is a silent killer. If your nutrient solution creeps above 75°F (24°C), dissolved oxygen levels plummet, and you create a perfect breeding ground for root rot pathogens like Pythium. I once lost an entire crop of basil in mid-July because I forgot to check the reservoir temp. Keep it stable between 65-70°F if possible.
Inconsistent Lighting Schedules: Plants need rhythm. If your timer is glitchy or you’re manually turning lights on and off at different times, you stress the plants. This can trigger flowering in leafy greens or cause fruiting plants to stall. Set it and forget it—but verify it weekly.
Overcrowding Leads to Microclimates: We all want to maximize space, but cramming too many plants together blocks airflow and creates humid pockets where leaves stay wet. That’s how powdery mildew starts. Give them room, and you’ll have healthier plants with higher individual yields.
Neglecting Root Zone Health: If the roots are unhappy, the plant is unhappy. Clear, white roots are the goal. Brown, slimy roots signal trouble. If you see that, act fast—sterilize your system and consider beneficial microbes or hydrogen peroxide treatments.
Chasing “More” with Nutrients: It’s tempting to think that if a little nutrient is good, a lot must be better. It’s not. Overfeeding leads to nutrient burn, lockout, and wasted money. Always follow the recommended EC ranges and dial it back if you see tip burn.
Hydroponic gardening is an exceptionally rewarding, high-efficiency method for food production. By committing to professional-grade planning—selecting compatible plants, optimizing your vertical space, mastering your nutrient chemistry, and leaning heavily on automation—you’re not just growing food; you’re building a high-yield system.
Get these steps right, and you’ll find your harvests dramatically outperforming any traditional setup. For deeper dives into the metrics that matter, explore the Hydroponic Tools Suite at Grow With Hydroponics and start fine-tuning your environment with data instead of guesswork.
Frequently Asked Questions
1. What is the easiest hydroponic gardening system for a beginner to maximize yield?
For yield and simplicity, start with Deep Water Culture (DWC). It’s forgiving, provides excellent oxygenation to roots, and is great for single, large plants like lettuce or peppers. You can manage one bucket easily while you learn the chemistry.
2. How often should I change my nutrient solution?
For most small to medium systems, a full reservoir change every 7 to 14 days is standard. This resets the nutrient balance and prevents the buildup of elements the plants aren’t absorbing. If you’re using automated pH/EC controllers, you can often stretch this to 2-3 weeks.
3. Can I mix different plant varieties in one hydroponic system?
Yes, but only if they have similar requirements for pH, nutrient strength (EC), and light. Good companions include various leafy greens (lettuce, kale, chard) or various herbs (basil, mint, oregano). Avoid mixing heavy-feeding fruiting plants with light-feeding greens in the same reservoir.
4. Why are my hydroponic plants growing so slowly even with nutrients?
Slow growth is almost always a lighting or pH issue. First, verify your pH is within the 5.5-6.5 range. If that’s stable, your light is likely the culprit. It might be too far away or not powerful enough. Use a DLI (Daily Light Integral) target for your crop to confirm.
Continue Learning Hydroponic Gardening
Dr. Awais Yousaf
Algorithm Specialist and Associate Professor leading R&D at Grow With Hydroponics. With 5+ years of hands-on experience in smart hydroponic systems, deep learning, and sustainable AgriTech, he is passionate about turning small spaces into high-yield indoor farms. Connect at awais.yousaf@iub.edu.pk