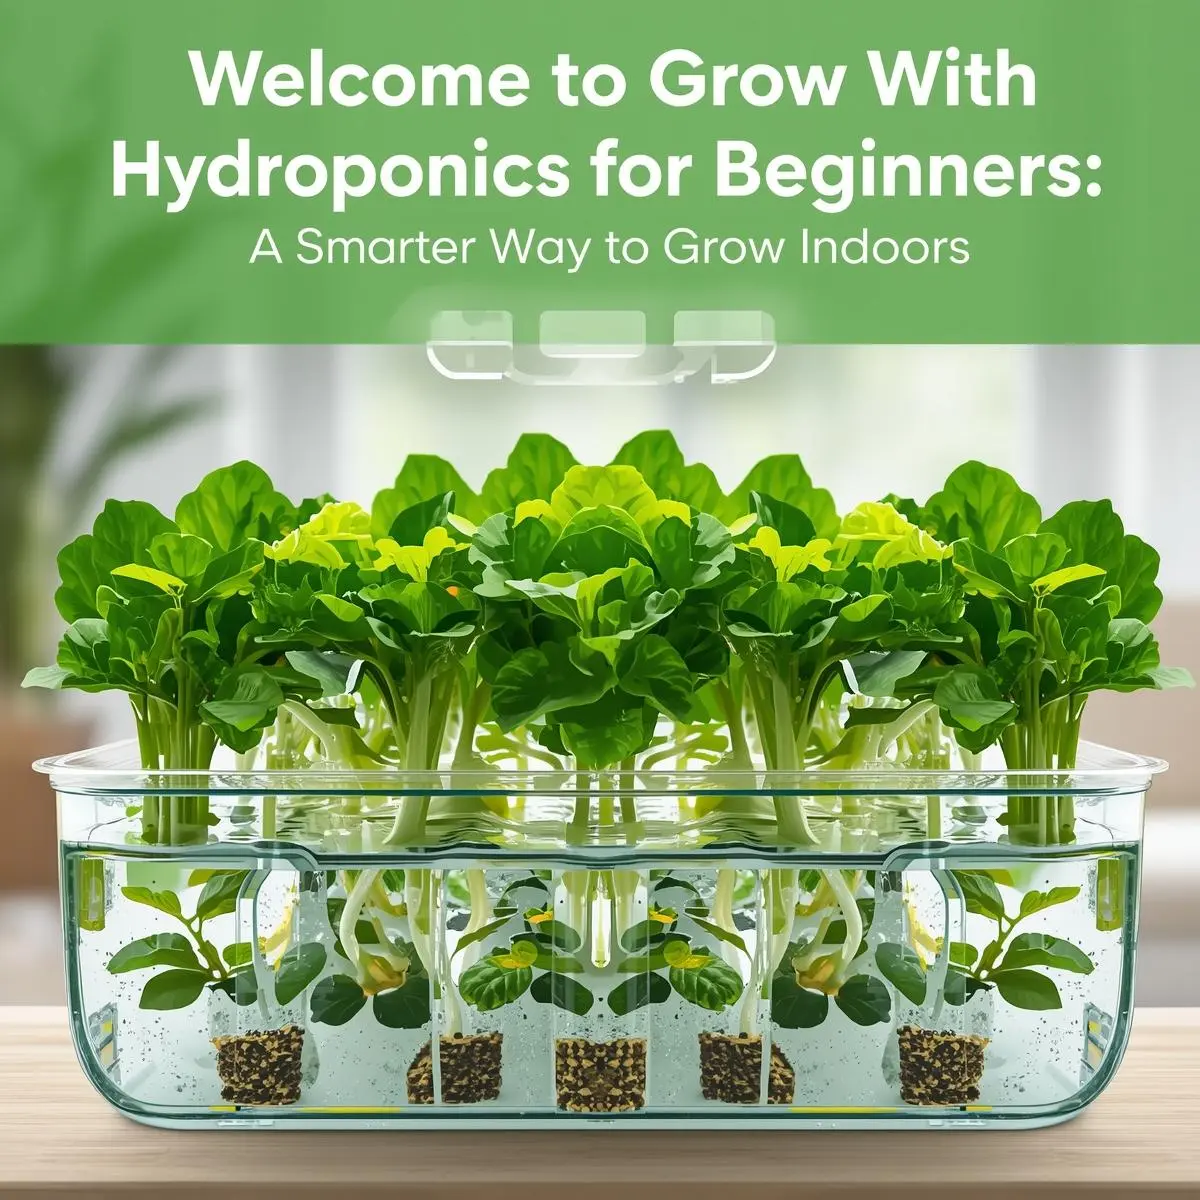
Indoor hydroponics isn’t just about lights, pumps, and nutrients. It’s about proportion—where plants, space, resources, and time all come into sync. Most early attempts fail, not due to shoddy technology, but poor planning. One of the biggest challenges is managing multiple crops in the same system: How do you ensure they all get what they need without interfering with each other?
That’s why the Hydroponic Multi Crop Planner is a game-changer. It provides an easy and efficient tool for planning, scheduling, and optimizing the growth of two to three crops grown side by side in a single environment. Whether you’re just starting and want to minimize costly mistakes, or you’re a seasoned grower looking to maximize yield, this tool connects the intuitive with the analytical.
What is the Multi Crop Planner?
Multi Crop Planner is an open-source, online tool for designing multi-crop hydroponic systems. You enter your grow space dimensions and the plants you want to grow, and it will tell you how to configure everything with a suggested layout for your plants .
Behind the scenes, it conducts checks for:
- Nutrient compatibility
- Light needs
- Growth cycles
- Plant spacing
This helps avoid conflicts like shading or mismatched nutrients. Think of it as a digital greenhouse designer and consultant slipped into your browser.
Key Features & How It Works
Crop Compatibility Analysis
The greatest danger in multi-crop hydroponics is selecting plants with too wide a spread of demand. The Planner checks if the selected crops have matching needs, such as:
- Nutrients: Do they have similar NPK ratios, micro nutrient requirements, and pH levels?”
- Light: Are the light requirements similar in terms of hours/intensity?
- Growth cycles: Are their harvest windows aligned (or at least roughly overlapping)?
If it finds a mismatch, that pair or trio will be flushed out, and you will receive a warning or suggestion on how to proceed with them.
Spatial Layout & Plant Positioning
Even compatible crops can fail if poorly sited. The Planner factors:
- Plant height: Tall plants do not shade shorter ones
- Spacing: Each plant needs enough space within the garden bed
- Light falloffs: Grouping plants under lights or according to intensity
You receive a layout map that indicates where each plant should be placed in your garden, ensuring maximum light access and minimal disruption.
Harvest Timing & Staging
The Planner helps you get an overview of when each crop will finish growing and how their growth cycles overlap. It tells you when they will be ready to harvest, either by week or day. This scheduling function is convenient for succession planting, ensuring a steady flow of produce without annoying gaps or overlaps that reduce efficiency.
Beginner-Friendly Interface
This isn’t a tool that’s just for horticulturists. The tool’s UI is smooth and easy to use. Input the corner points, select the crops, and let it compute. The FAQ even says it’s perfect for beginners. For more experienced growers, it’s still a handy tool for prototyping before moving on to finer design details.
How to Use the Multi Crop Planner
A hypothetical use case: Got that?
- Measure Your Grow Space Let’s say your hydroponic bench or rack is 2 meters long by 1 meter wide.
- Select Up to 3 Crops You choose: Lettuce, Basil, and Strawberry.
- Let the Planner Evaluate The Planner checks compatibility. It might indicate that strawberry plants require more light intensity than lettuce or basil.
- Examine the Suggested Layout That might indicate basil in the front row (shortest), lettuce in the middle, and strawberry in the back (tallest). It also provides the plant density per row.
- Review Harvest Schedule It is displayed as follows: lettuce will be finished in week five, basil in week six to seven, and strawberries in week eight. There is a 2‐week window overlap. You can re-seed lettuce and roll it into another cycle.
- Adjust as Needed Strawberry is higher light-dependent, so you give a higher-powered LED for that row. Alternatively, increase the strawberry count slightly and leave a bit of room at the bottom for better, higher light spread.
- Plant & Monitor Plant according to the layout. Regularly monitor EC/ppm and water temperature. You can easily verify adjustments by measuring total dissolved solids, checking for shading, monitoring airflow, and tracking nutrient drift.
- Record & Iterate At the end of the cycle, weigh actual yields, crop health, and deviations. Apply that data to plan your next cycle better.
Multi-Crop Hydroponics Guide
To help you wring maximum performance and sidestep some pitfalls, here are a handful of tips:
- Start with Compatible Crop Families: Leafy greens (lettuce, kale, arugula), for example, commonly have pH, nutrient, and light requirements that harmonize well together, so they are easier to co-cultivate. Fruiting crops (such as tomatoes and peppers) generally have more of their needs met.
- Use Adjustable Lighting or Zoning: Use lighting areas or luminaires with variable intensity. This provides precise control for plants that have slightly different lighting needs.
- Monitor Nutrients Frequently: Daily: Monitor daily EC/ppm meters and pH meters. Any slight increases in UPWT contribute to nutrient drift. Balance adjustments early.
- Manage Height & Canopy Interactions: Head or stake tall plants to prevent them from shading the rest. Use stakes or trellises. Keep air circulating to avoid pockets of moisture.
- Get Off the Walkways To Allow For Maintenance: You’ll also need space to water, inspect, and harvest. Pack plants close enough so that you can reach in to pick them.
- Employ Succession Planting: Staggered planting will help ensure that when one crop is harvested, another is ready to come in by providing successive waves of seedlings. The Planner’s Harvest Scheduling is an invaluable tool in this respect.
- Keep Logs & Metrics: Monitor inputs (nutrients, water), yields, growth times, and any issues that may arise. You’ll refine your “model crop profiles” over numerous cycles.
- Be Conservative Initially: Don’t push maximum density immediately. Begin with your recommended spacing, then adjust the density as needed to achieve the desired outcome. It’s better to under crowd early than stress your plants.
Case Study / Example
To see how this might work out in a scenario, consider the following example:
- Grow Area: 1.5 m × 0.75 m
- Vegetable: Lettuce (Butter-head), Spinach, Swiss Chard
You put eight of those into the Planner. It evaluates:
- Compatibility: All are leafy greens with similar nutrient and light requirements — match.
- Layout: Front row recommend spinach (low), next lettuce, Back chard (mid-high) 3.
- Count: Figures out that you can have 15 lettuce, 12 spinach, and 10 chard (example).
- Harvest Windows:
- Spinach week 4–5.
- Lettuce week 5–6.
- Chard week 6–7.
You notice that spinach and lettuce overlap, so you plant the spinach and follow it up a week later with the lettuce, which allows for a well-spaced harvest. You take that bonus week to flush or keep the spinach while the lettuce is growing. Chard comes up behind, rounding out the back half. That schedule provides us with a continuous output over three overlapping cycles. And you harvest as you go: say the yield on your lettuce is slightly less because of shading from the chard in the later weeks as the experiment progresses. Next, you adjust the chard spacing or decrease its quantity. You sharpen your calibration over several cycles.
Mistakes That Are Often Made & Techniques to Help.
The Planner covers costly common mistakes and how to avoid them.
- Mistake 1: Overcrowding You over plant and wind up with shading, stunted, or competing growth. The Planner provides safe-spacing estimates to prevent it.
- Mistake 2: Nutrient Mismatch You mix and match wildly separated EC / pH-demanding crops, and you either starve or kill them. The Planner’s compatibility analysis adjusts poor matches early.
- Mistake 3: Poor Timing You lump everything together, and you end up with harvest bunching or downtime. That potential is discouraged by the Planner’s harvest scheduling, which shows both overlap and gaps.
- Mistake 4: Poor Layout / Shading Is it necessary to put tall plants in the front, blocking light to shorter ones? The Planner’s layout logic prevents that mistake.
- Mistake 5: Ignoring Data No measurements, or not basing them on real-world results. The Planner works best when accompanied by feedback from real cycles.
Integration with other tools & workflows
To be clear, the Multi Crop Planner is best as one part of a home grower’s larger hydroponics tool set. Use these companions:
- GrowSpace Planner: to plan your benches, racks, and floor layout.
- GrowSpace Simulator: to see how crops will grow over time and help you estimate shading or nutrient changes.
- GrowPro Hydroponic Nutrient Calculator: Create the correct EC/PPM mixes based on your crop.
- Hydroponic Nutrient Deficiency Calculator: to assist you in diagnosing nutrient imbalances / visual symptoms in your plants.
By combining layout, simulation, nutrient planning, and diagnosis, you will design an integrated, data-driven hydroponic workflow.
The Multi Crop Planner is not just a graphical tool; it’s your partner in the multi-crop hydroponic field. It helps you:
- Avoid guesswork
- Spot incompatibilities
- Optimize space, light, and resources
- Plan smart harvest schedules
- Gradually refine with feedback
Over time, with this tool from Grow With Hydroponics, you’ll build your own library of crop profiles, spacing guidelines, and yield forecasts.