Ever stared at a $6 clamshell of microgreens at the store and felt a mix of outrage and inspiration? Good. Hold onto that. Because you’re right—you can absolutely grow this yourself. Frankly, it’s one of the few corners of indoor gardening that’s almost as simple as the hype claims. Learning how to grow microgreens indoors is your backdoor into year-round, nutrient-dense greens, even if your only “garden space” is a corner of the kitchen counter.
Over a decade of editing for tech and horticulture pubs left me skeptical of easy wins. But here’s the truth: microgreens are the real deal. They’re the perfect gateway drug to compact food growing. At Grow With Hydroponics, we’ve helped countless gardeners start here, because the timeline is merciful—harvest in 7-14 days—and the gear list is short.
By the end of this, you’ll know how to navigate the whole process, soil-free. Let’s get to it.
What Are Microgreens (and Why Bother)?
They’re just baby plants—radish, broccoli, pea, and sunflower—harvested at the first true leaves. But calling them “just sprouts” misses the point. The flavor intensity is remarkable, and the nutrient density often stomps their fully grown counterparts.
Why they’re the ideal indoor crop:
- They thrive in shallow trays. No deep root zones needed.
- They’re fast. You get feedback—and food—in days, not months.
- They’re efficient. Less light, less space, and less patience required.
Growing them hydroponically simply cuts the soil out of the equation. You get cleaner harvests, zero weather dependency, and total control. It’s urban indoor farming at its most accessible.
Can You Really Grow Microgreens Without Soil?
Absolutely. In fact, after years of testing, I often prefer it. Growing microgreens without soil means using an inert medium:
- Coconut coir mats
- Hemp fiber pads
- Simple paper towels or reusable mesh
The roots anchor into the mat and drink from a reservoir below. It’s cleaner, and it sidesteps a lot of the damping-off and fungus gnats that plague soil beginners. This tray-based growing method is the undisputed champion for apartments.
The hydroponic advantage is straightforward: constant moisture means faster growth, and no soil means far fewer variables for mold to exploit. Your toolkit is embarrassingly simple: trays, a mat, a light, seeds, and water. That’s it.
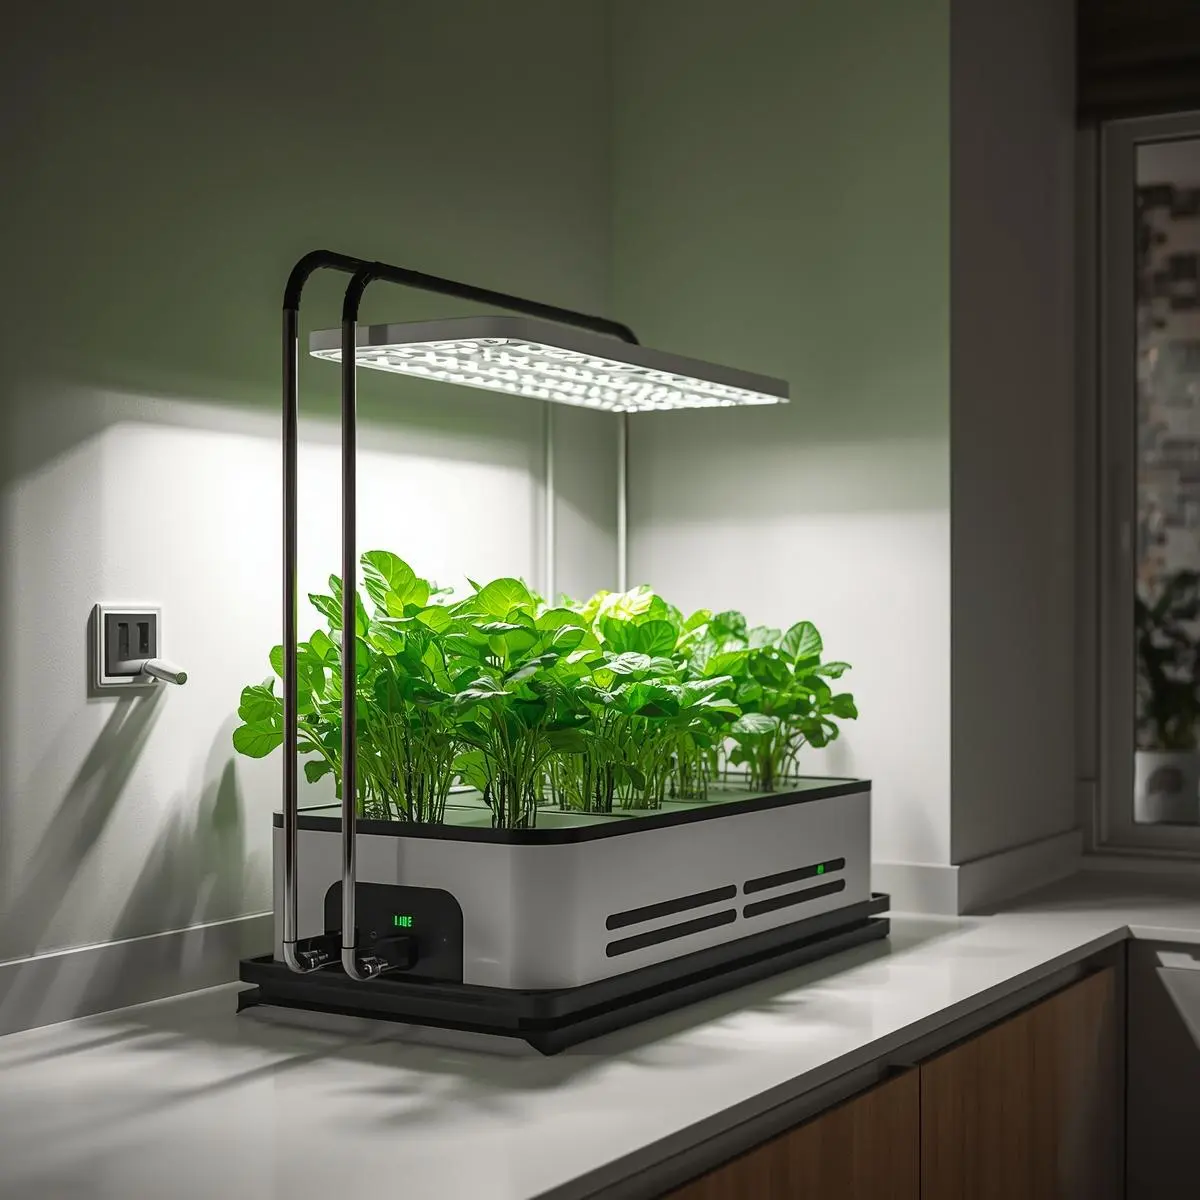
Setting Up Your First Grow: No Hype, Just Hardware
You don’t need a tent. A shelf, a counter, or a windowsill (with managed expectations) will work.
The “Good-Enough” Starter Kit:
- Two shallow trays (one nested inside the other for bottom-watering)
- Grow mats (I’m partial to hemp for its density)
- Seeds (Stick with radish or broccoli for your first rodeo)
- A basic LED grow light for greens
- A spray bottle for the initial misting
If you’re plotting more than a single tray—and you will be—don’t just shove them together. A tool like our Grow Space Planner helps you design a layout that maximizes light coverage and airflow from the start. It’s the difference between a tidy operation and a cluttered mess.
The Step-by-Step: From Seed to Snip
- Prep & Sow.
Soak your mat until it’s uniformly damp, not swimming. Scatter seeds densely but evenly—they shouldn’t be piled on top of each other. A light mist settles them in. This is where most beginners go wrong: too sparse, and you waste space; too thick, and you beg for mold. - The Blackout Phase (Days 1-3).
Cover the tray. This isn’t optional. It mimics soil, forcing stems to stretch and roots to drive down. Check daily. The mat should feel like a wrung-out sponge. - Bring on the Light (Days 4+).
Uncover and hit them with light. 12-16 hours daily, with the fixture 6-12 inches above the canopy. Here’s the pro tip: microgreens need enough light to grow stout, but not so much you bleach them. This is where a DLI Calculator is worth its weight in gold. It translates “bright enough” into a precise daily light integral number, taking the guesswork out of your lighting schedules. - Harvest.
When the first true leaves are open and the stems stand tall, take clean scissors and cut just above the mat. Rinse, pat dry, and taste your impatience rewarded.
The Best Crops for Your Windowsill (or Shelf)
Some varieties are gloriously forgiving. Start with these:
- Radish: Fast, peppery, almost foolproof.
- Broccoli: Mild, packed with nutrients, and equally easy.
- Pea Shoots: Crunchy, sweet, and satisfyingly substantial.
- Sunflower: Nutty and hearty, but needs a bit more attention.
Once you’re running multiple varieties with different grow times, the Multi-Crop Planner becomes essential. It helps you stagger planting so you’re not harvesting everything on the same Tuesday, creating a consistent, weekly supply.
Do They Need Nutrients? The Unvarnished Answer.
For a 7-10 day crop like radish? Plain water is often fine. But for longer-growth, heavier-feeding crops like pea shoots or sunflowers, a very dilute nutrient solution improves yield, color, and vigor enormously.
The key word is dilute. Overdo it and you’ll fry them. Use a Nutrient Calculator to get the mix right, and keep an EC ↔ PPM Converter bookmarked if your meter confuses you. Precision here feels fussy, but it works.
Common Problems: Diagnosis from the Editor’s Chair
Why are they leggy and falling over?
Classic insufficient light. They’re stretching for a photon fix. Lower your lights or get a brighter fixture—and verify the intensity. Again, the DLI Calculator is your diagnostic friend here.
Is that mold?
Probably not. Dense root hairs look like white fuzz and are harmless. Real mold smells musty and spreads on the mat itself. Prevent it with better airflow and by bottom-watering, not top-misting. If you see funky discoloration on the leaves, our Deficiency Calculator can help you parse whether it’s a nutrient issue or just physical damage.
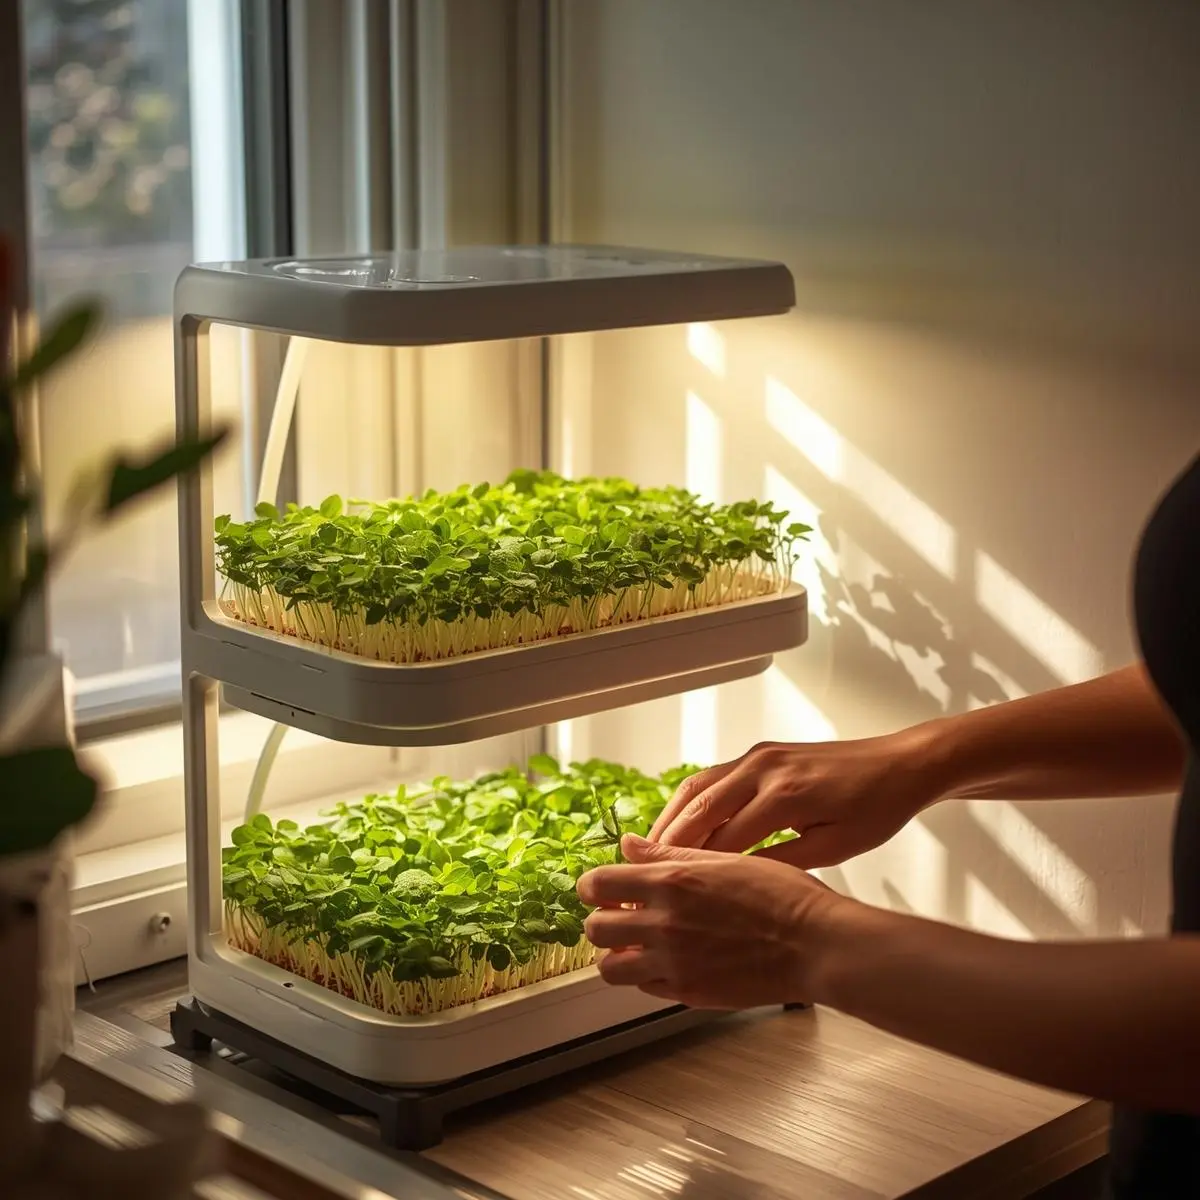
From Hobby to Habit: Scaling Up Smartly
The addiction sets in quickly. Scaling up is less about buying more stuff and more about building a system.
- Go vertical with shelving.
- Run a 3-tray rotation: sow, grow, harvest.
- Log your dates and results.
For real consistency, a small tent controls the environment beautifully. A small grow tent is a game-changer for consistency.
And when you’re ready to add something with a longer timeline between your quick microgreen turns, hydroponic herbs are a logical next step.
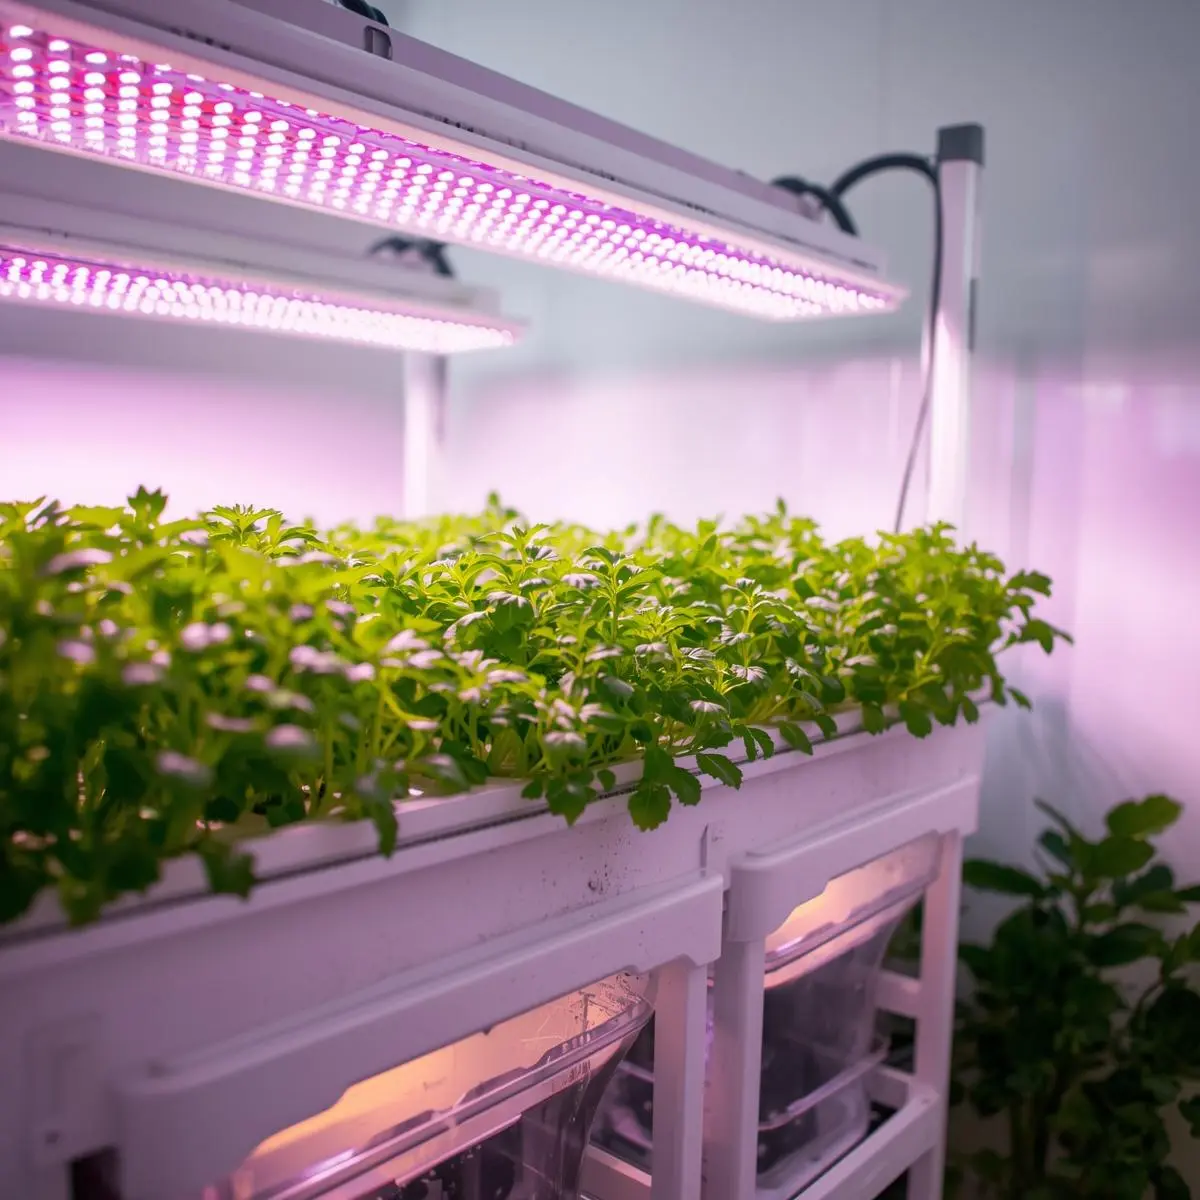
Shop Smart: The Lights and Trays Talk.
When you Shop Smart for LED grow lights for greens, ignore the lumens. Look for full-spectrum and pair your purchase with our DLI Calculator. You’re buying usable light for your specific crop, not just a bright blob. It ensures you get the right fixture from the start—saving money and frustration.
Why This is the Real Gateway
Growing microgreens at home teaches you the fundamental rhythms of indoor farming: how plants drink, how they reach for light, and what “vigor” actually looks like. It’s instant, edible gratification.
This entire endeavor is about removing guesswork. That’s why the tools at Grow With Hydroponics exist—to turn anxiety into data and data into lush, reliable harvests.
You are closer than you think. To grow microgreens indoors is to reclaim a small, delicious piece of your food chain. Start with one tray. Learn its rhythm. Taste the difference.
Then expand. We’ll be here to help. Now go get your seeds wet.